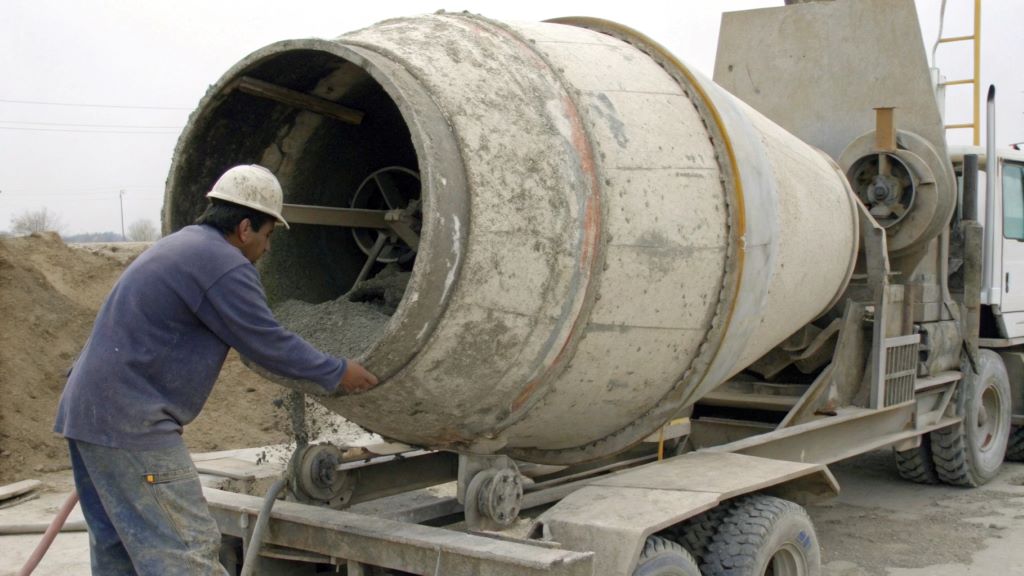
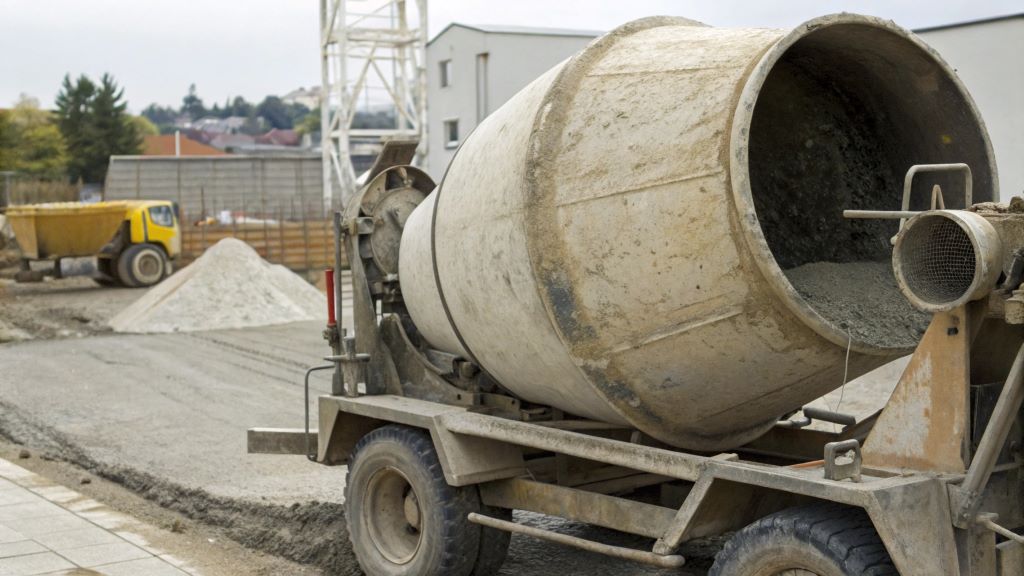
Imagine a bustling construction site, the hum of machinery filling the air. At the center of it all is the concrete mixer, tirelessly churning out perfect batches of concrete. But one day, I noticed our mixer struggling—clumps of old concrete stuck to the drum, slowing it down. The culprit? A worn-out drum liner. Replacing it transformed our workflow, and I’m here to share how to replace worn-out concrete mixer drum liners with you. Worn-out liners can reduce efficiency, increase maintenance costs, and even compromise concrete quality. According to a 2023 study by the Construction Equipment Association, 68% of mixer breakdowns are linked to neglected drum maintenance. This guide will walk you through replacing concrete mixer drum liners, offering practical tips to keep your equipment running smoothly. Whether you’re a contractor or a DIY enthusiast, you’ll find actionable steps to save time and money. Let’s dive in!
Why Drum Liners Wear Out
Drum liners take a beating. They endure constant friction from aggregates, cement, and water, which erodes their surface over time. Harsh chemicals in concrete mixes, like admixtures, accelerate wear. Additionally, improper cleaning—leaving wet concrete to harden—creates stubborn buildup. A 2022 report by the National Ready Mixed Concrete Association found that 75% of drum liner replacements stem from inadequate maintenance.
I learned this the hard way when our mixer’s output dropped by 20% due to a pitted liner. Ignoring wear can lead to uneven mixing, longer batch times, and costly repairs. Liners typically last 1–3 years, depending on usage and care. Heavy-duty mixers in high-volume operations may need replacements annually. Recognizing wear early, like cracks or thinning surfaces, prevents bigger issues. Regular inspections and cleaning are key to extending liner life. By understanding these factors, you can plan timely replacements and keep your mixer in top shape.
Signs It’s Time to Replace Your Drum Liner
Spotting a worn-out liner early saves headaches. Look for visible damage: cracks, dents, or deep scratches on the liner surface. Uneven mixing is another red flag—lumps in the concrete or inconsistent texture signal trouble. You might also notice longer mixing times or increased power consumption. In my case, our mixer started vibrating excessively, a clear sign that the liner was failing. According to a 2024 study by Equipment World, 60% of operators overlook these warning signs, leading to costly downtime.
Check for material buildup that resists cleaning, as it indicates surface degradation. If the liner’s thickness has worn down significantly (often below 3 mm for steel liners), replacement is urgent. Regular checks during maintenance can catch these issues early. Document mixer performance, like batch times, to spot trends. Acting promptly ensures consistent concrete quality and prevents damage to the drum itself. Don’t wait for a complete failure—proactive replacement is always cheaper.
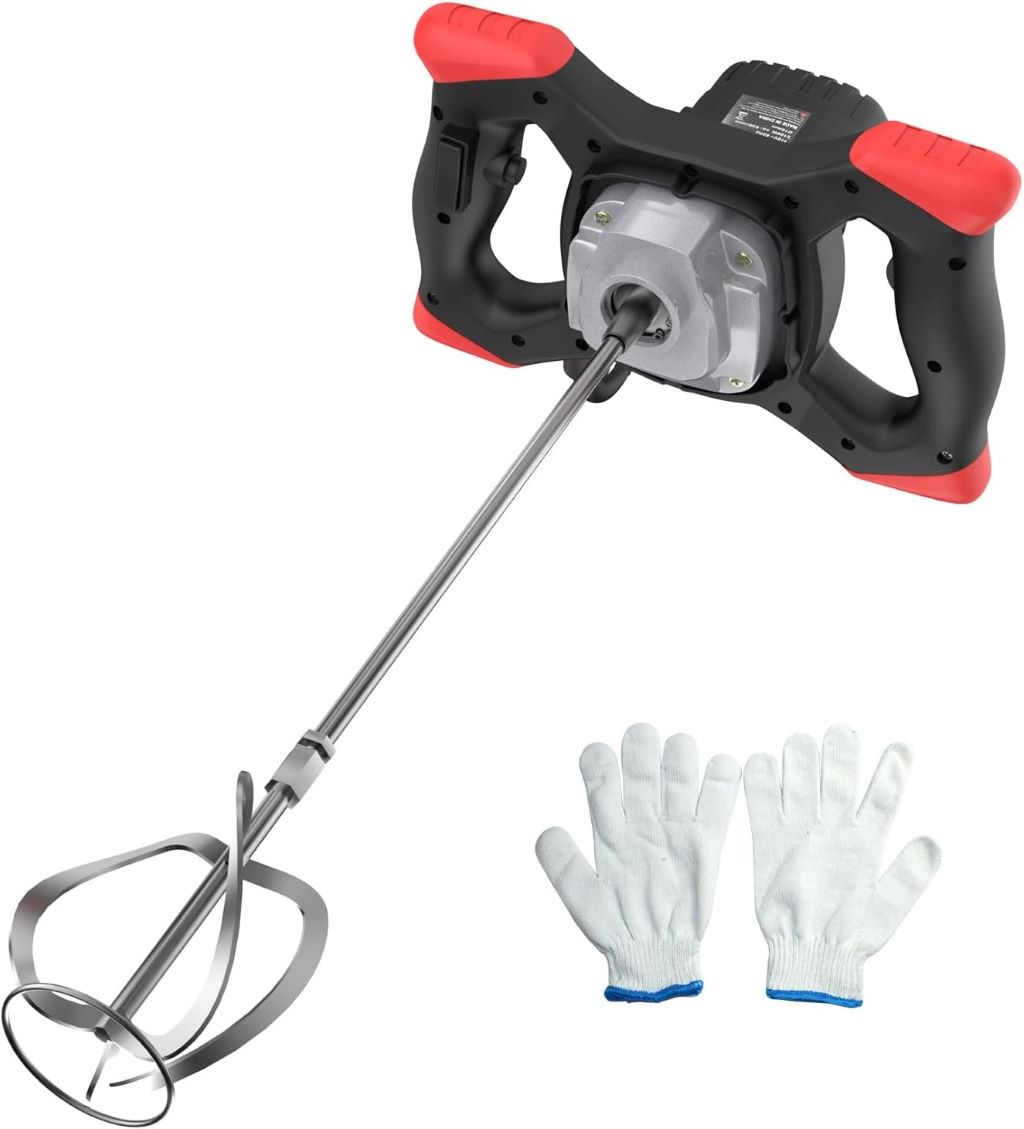
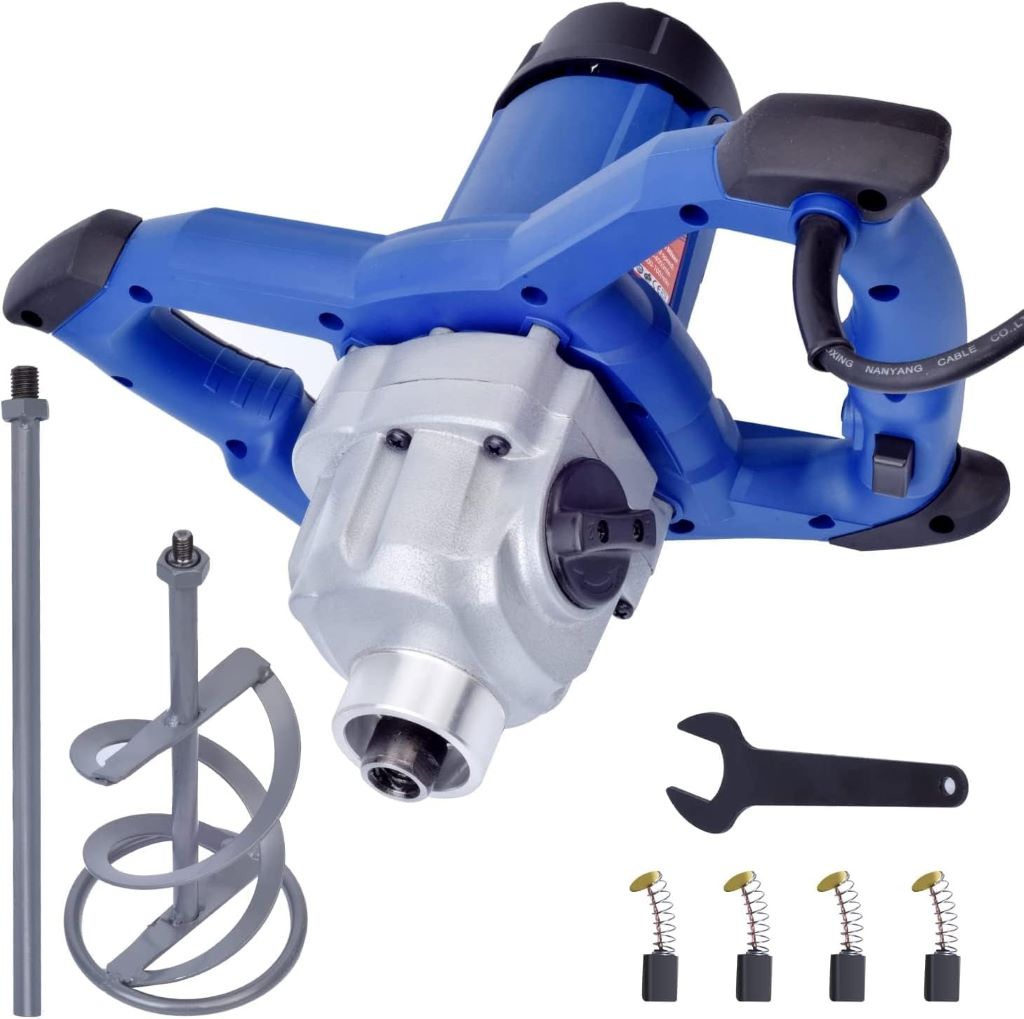
Tools and Materials You’ll Need
Before starting, gather the right tools and materials. This ensures a smooth replacement process. Here’s what you’ll need:
- Wrench set and socket kit: For removing bolts securing the liner.
- Angle grinder: To cut out old liners if riveted or welded.
- Safety gear: Gloves, goggles, and steel-toed boots for protection.
- Replacement liner: Match the mixer’s model (check the manual or manufacturer’s site).
- Fasteners: Bolts, rivets, or welding supplies, depending on your mixer’s design.
- Cleaning supplies: Wire brushes and degreasers for prepping the drum.
I once skipped safety gear to save time and ended up with a minor cut from sharp metal edges—lesson learned. Quality matters for liners; opt for high-grade steel or polyurethane for durability. According to a 2023 article by Concrete Construction, polyurethane liners last 20% longer than standard steel in high-abrasion settings. Source liners from reputable suppliers like McNeilus or Con-Tech. Check compatibility with your mixer’s drum size and mounting system. Having everything ready prevents delays and ensures a professional-grade repair.
Step-by-Step Guide to Replacing the Drum Liner
Replacing a drum liner might seem daunting, but breaking it down makes it manageable. Follow these steps:
- Shut Down and Clean: Turn off the mixer and lock out power. Remove residual concrete with a wire brush and water. Dry thoroughly.
- Remove the Old Liner: Unbolt or cut out the worn liner using an angle grinder. Work carefully to avoid damaging the drum.
- Inspect the Drum: Check for cracks or corrosion. Sand down rust spots and apply a protective coating if needed.
- Install the New Liner: Position the replacement liner, aligning bolt holes or weld points. Secure with bolts or rivets, ensuring a tight fit.
- Test the Mixer: Run a dry cycle to check for vibrations or loose fittings. Adjust as needed.
I replaced our liner in a day, but rushing led to misaligned bolts, causing a slight wobble. Take your time for precision. A 2024 guide by Construction Equipment recommends torqueing bolts to manufacturer specs to prevent loosening. If welding, ensure proper ventilation to avoid fume exposure. Test with a small batch of concrete to confirm performance. This process restores your mixer’s efficiency and extends its lifespan.
Maintenance Tips to Extend Liner Life
A new liner is an investment—protect it with proper care. Clean the drum after every use to prevent concrete buildup. Use high-pressure water and a wire brush, avoiding harsh chemicals that degrade liners. I started daily cleanings after noticing how the buildup slowed our mixer. Lubricate moving parts, like blades, to reduce friction on the liner. Inspect weekly for early wear signs, such as scratches or thinning.
A 2023 study by the American Concrete Institute found that regular maintenance extends liner life by 30%. Store the mixer under a cover to shield it from the weather, which can cause rust. If using admixtures, rinse the drum immediately after mixing to minimize chemical exposure. Keep a maintenance log to track cleaning and inspections. These habits reduce replacement frequency, saving money and downtime.
Cost Considerations and Savings
Replacing a drum liner isn’t cheap, but it’s cost-effective compared to buying a new mixer. Steel liners cost $500–$2,000, while polyurethane ones range from $800–$3,000, depending on mixer size. Labor adds $200–$500 if you hire a professional. I saved $300 by doing it myself, though it took a full day. A 2024 report by Equipment World estimates that timely liner replacement cuts repair costs by 25% compared to drum damage. DIY replacements require time and skill but save significantly.
Factor in downtime—delays can cost contractors $1,000 daily in lost productivity. Buying quality liners from trusted brands like Terex ensures longevity, reducing long-term expenses. Compare supplier prices and check for warranties. Regular maintenance, as mentioned, further lowers costs by delaying replacements. Weigh these factors to decide between DIY and professional services, balancing budget and expertise.
Environmental Impact of Replacing Liners
Replacing liners has environmental implications. Old liners, often steel, can be recycled, reducing landfill waste. A 2023 study by the Environmental Protection Agency notes that recycling steel saves 60% of the energy needed for new production. Contact local scrap yards for disposal options. Polyurethane liners are harder to recycle but last longer, reducing replacement frequency. I switched to polyurethane for our mixer, cutting replacements from yearly to every 18 months.
Choose manufacturers with sustainable practices, like those using low-emission production. Proper maintenance minimizes waste by extending liner life. Additionally, efficient mixers with new liners use less fuel, lowering carbon emissions. A 2022 report by the National Ready Mixed Concrete Association found that well-maintained mixers reduce energy use by 15%. By prioritizing recycling and maintenance, you contribute to a greener construction industry.
Conclusion
Replacing a worn-out concrete mixer drum liner is more than a repair—it’s a commitment to efficiency and quality. My experience taught me that timely action prevents costly breakdowns and keeps projects on track. By recognizing wear signs, gathering the right tools, and following a clear process, you can restore your mixer’s performance. Maintenance is key to maximizing liner life, saving money, and reducing environmental impact. Whether you’re tackling a DIY replacement or hiring a pro, these steps ensure success. Now it’s your turn—inspect your mixer, plan your replacement, and keep your equipment in top shape. Have you replaced a liner before, or are you facing mixer issues? Share your story in the comments or pass this guide to a colleague. Let’s keep the concrete flowing!
Electric Concrete Mixer Buying Guide: Expert Tips for Choosing the Best Mixer!
FAQs
Why do concrete mixer drum liners wear out so quickly?
Drum liners wear out due to friction from aggregates, chemical exposure, and poor cleaning habits. Regular maintenance can extend their life.
How often should I replace my drum liner?
Replacement depends on usage, but liners typically last 1–3 years. Heavy-duty mixers may need annual replacements.
Can I replace a drum liner myself?
Yes, with the right tools and skills, DIY replacement is possible. Follow manufacturer guidelines and prioritize safety.
What’s the cost of replacing a drum liner?
Steel liners cost $500–$2,000, polyurethane $800–$3,000. Professional labor adds $200–$500, but DIY saves money.
Are there eco-friendly options for drum liners?
Recyclable steel liners and durable polyurethane reduce waste. Choose sustainable manufacturers and recycle old liners.
Read More: