Imagine you’re in the middle of a woodworking project, the smell of fresh lumber in the air, and your nail gun jams—or worse, it drives nails too deep, splitting your carefully crafted piece. Frustrating, right? The culprit is often improper nail gun pressure. Getting the air pressure just right can mean the difference between a professional finish and a costly do-over. In this guide, we’ll dive into everything you need to know about optimal nail gun pressure, ensuring your projects are flawless every time.
Whether you’re a seasoned contractor or a DIY enthusiast, understanding how to set the correct PSI (pounds per square inch) for your pneumatic nail gun is crucial. This 1200+ word article will cover the factors affecting nail gun pressure, recommended settings for different tools and materials, troubleshooting tips, and safety practices. Let’s nail it!
What Is Nail Gun Pressure, and Why Does It Matter?
Nail gun pressure refers to the force of compressed air delivered by an air compressor to drive nails into materials. Measured in PSI, this pressure determines how deeply and securely nails are driven. Too much pressure, and you risk damaging the material or over-driving nails; too little, and nails may not sink properly, compromising the strength of your work.
Optimal pressure ensures:
- Precision: Nails are driven flush with the surface.
- Material Integrity: Prevents splitting or cracking wood, drywall, or other surfaces.
- Efficiency: Reduces jams and misfires, saving time and frustration.
- Safety: Proper settings minimize the risk of accidents.
Secondary keywords: nail gun PSI settings, pneumatic nailer pressure, air compressor for nail gun.
Factors Influencing Optimal Nail Gun Pressure
Several variables affect the ideal pressure for your nail gun. Understanding these will help you fine-tune your setup for any project.
- Type of Nail Gun
Different nail guns require specific pressure ranges:
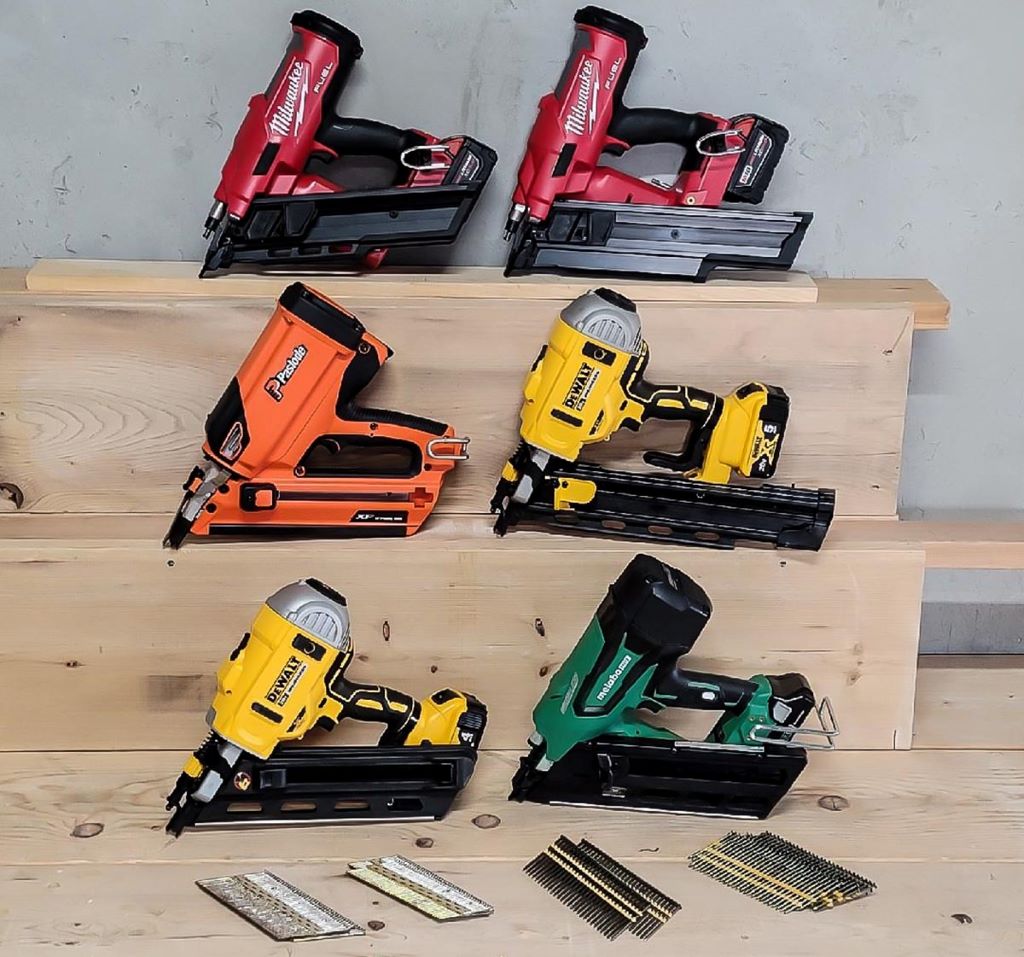
- Brad Nailers: Used for delicate trim work, typically need 60–100 PSI.
- Finish Nailers: For heavier trim or molding, operate at 70–120 PSI.
- Framing Nailers: Built for heavy-duty tasks like framing houses, require 80–130 PSI.
- Roofing Nailers: Designed for asphalt shingles, usually need 90–120 PSI.
- Nail Size and Type
Larger or longer nails require more force to drive fully. For example:
- 18-gauge brad nails need less pressure than 15-gauge finish nails.
- Collated nails for framing may demand higher PSI than smaller trim nails.
- Material Density
The hardness of the material impacts pressure needs:
- Softwoods (pine, cedar): Lower PSI (70–90) to avoid over-driving.
- Hardwoods (oak, maple): Higher PSI (90–120) for secure fastening.
- Drywall or Plywood: Moderate PSI (80–100) to prevent surface damage.
- Air Compressor Capacity
Your compressor must deliver consistent pressure and adequate airflow (measured in CFM, or cubic feet per minute). Check your nail gun’s manual for minimum CFM requirements, typically 2–4 CFM for most models.
- Environmental Factors
Temperature and humidity can affect compressor performance. Cold weather may reduce air pressure output, requiring slight adjustments.
LSI keywords: nail gun air pressure chart, best PSI for framing nailer, compressor CFM for nail gun.

Recommended PSI Settings for Common Nail Guns
Here’s a quick reference for typical PSI ranges based on nail gun type and application. Always consult your tool’s manual for exact specifications.
| Nail Gun Type | Recommended PSI | Common Applications |
| Brad Nailer | 60–100 | Trim, molding, light woodworking |
| Finish Nailer | 70–120 | Baseboards, crown molding, cabinets |
| Framing Nailer | 80–130 | House framing, decking, fencing |
| Roofing Nailer | 90–120 | Asphalt shingles, roofing underlayment |
| Pin Nailer | 60–100 | Delicate trim, small furniture projects |
Pro Tip: Start Low and Adjust
Always begin at the lower end of the recommended PSI range and test on a scrap piece of material. Gradually increase pressure until nails are driven flush without damaging the surface.
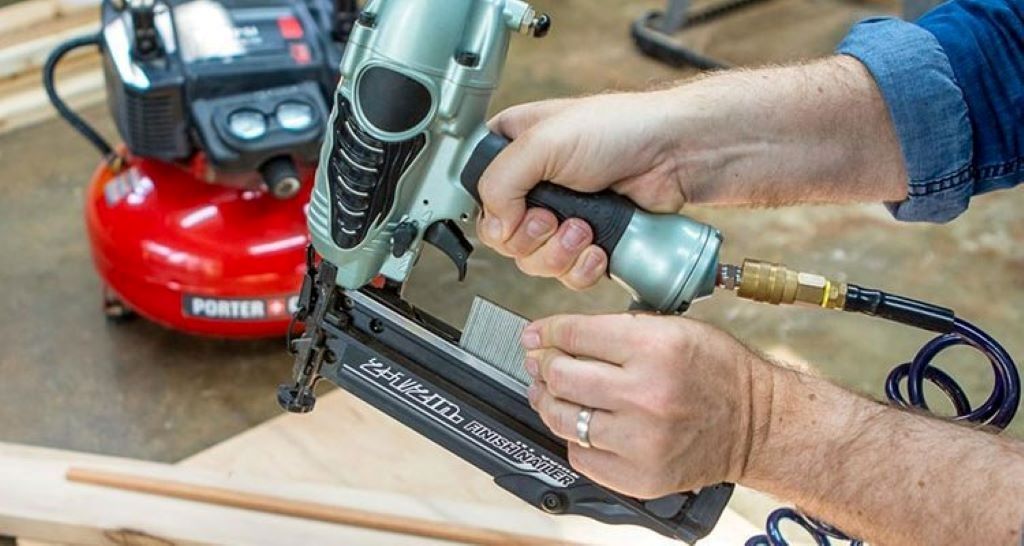
How to Set the Right Nail Gun Pressure
Follow these steps to dial in the perfect pressure for your nail gun:
- Check the Manual: Confirm the manufacturer’s recommended PSI and CFM requirements.
- Inspect the Compressor: Ensure it’s in good condition and capable of delivering consistent pressure.
- Connect the Hose: Use a high-quality air hose (1/4” or 3/8” diameter) to minimize pressure loss.
- Set Initial Pressure: Adjust the compressor’s regulator to the lowest recommended PSI for your nail gun.
- Test Fire: Shoot a few nails into a scrap piece of the same material you’re using. Check if nails are flush, under-driven, or over-driven.
- Fine-Tune: Increase PSI in increments of 5–10 until you achieve a clean, flush drive.
- Monitor Performance: Recheck pressure periodically, especially during long sessions, as compressors may fluctuate.
Secondary keywords: how to adjust nail gun pressure, nail gun not driving nails deep enough, compressor pressure regulator.
Troubleshooting Common Nail Gun Pressure Issues
Even with the right PSI, problems can arise. Here’s how to address common issues:
- Nails Driven Too Deep
- Cause: PSI is too high.
- Solution: Lower the pressure by 5–10 PSI and retest. Check for a depth adjustment feature on your nail gun and use it to fine-tune.
- Nails Not Driven Deep Enough
- Cause: PSI is too low, or the compressor lacks sufficient CFM.
- Solution: Increase PSI gradually. Ensure the compressor meets the tool’s CFM requirements.
- Nail Gun Jams
- Cause: Inconsistent pressure, wrong nail type, or worn parts.
- Solution: Verify PSI stability, use the correct nails, and inspect the nailer for wear or debris.
- Air Leaks
- Cause: Loose fittings or a damaged hose.
- Solution: Tighten connections, replace faulty hoses, or apply thread sealant tape to fittings.
LSI keywords: nail gun troubleshooting, fix nail gun jamming, air compressor leaks nail gun.
Safety Tips for Using Nail Guns
Working with pneumatic nail guns involves high-pressure air and fast-moving fasteners, so safety is paramount. Follow these guidelines:
- Wear PPE: Always use safety glasses, gloves, and hearing protection.
- Disconnect Air Supply: Turn off the compressor and release pressure when not in use or during maintenance.
- Keep Fingers Clear: Never place your hand near the nailer’s firing area.
- Store Properly: Keep nail guns and compressors in a dry, secure location to prevent damage.
- Regular Maintenance: Clean and lubricate your nail gun as per the manufacturer’s instructions to ensure consistent performance.
Choosing the Right Air Compressor for Your Nail Gun
A reliable air compressor is the backbone of your nail gun setup. Consider these factors when selecting one:
- CFM Rating: Ensure it exceeds your nail gun’s CFM needs (check the manual).
- Tank Size: A 2–6-gallon tank is sufficient for most DIY projects; larger tanks (10+ gallons) suit heavy-duty tasks.
- Portability: Pancake or hot-dog compressors are ideal for mobility.
- Noise Level: Look for models with lower decibel ratings for quieter operation.
Popular brands like DeWalt, Makita, and Bostitch offer compressors tailored for nail guns, with prices ranging from $100 to $500 depending on capacity.
Secondary keywords: best air compressor for nail gun, portable compressor for framing nailer, nail gun compressor size.
Conclusion: Nail Your Projects with Confidence
Mastering optimal nail gun pressure is the key to achieving professional-quality results in your woodworking, construction, or DIY projects. By understanding your tool’s PSI requirements, adjusting for material and nail type, and maintaining your equipment, you’ll save time, reduce errors, and enhance safety. Start with the recommended settings, test on scrap material, and fine-tune as needed to get that perfect flush finish every time.
Ready to take your projects to the next level? Share your favorite nail gun tips in the comments below, or let us know what challenges you’ve faced with pressure settings. Don’t forget to subscribe for more expert guides on tools and techniques!
Read More:
How to Master Nail Gun Techniques