Have you ever walked past a wobbly chair, a squeaky cabinet, or a loose door hinge and thought, “I’ll fix that later”? You’re not alone. But here’s the thing—loose hardware is more than just an annoyance; it’s a safety risk and can lead to costly repairs down the road.
Whether you’re a seasoned DIY enthusiast or just starting your home improvement journey, knowing how to tighten hardware properly can save you time, money, and frustration. In this guide, we’ll walk you through everything you need to know about identifying, tightening, and maintaining the hardware in your home.
🔧 What Does “Tighten Hardware” Really Mean?
Before we dive into the steps, let’s clarify what we mean by “tighten hardware.” Hardware refers to all the metal fasteners, hinges, brackets, knobs, screws, and bolts used in your furniture, doors, windows, appliances, and cabinetry.
Tightening hardware simply means ensuring these components are secured properly using the appropriate tools—usually screwdrivers, Allen wrenches, or socket sets—to restore stability and functionality.
🏠 Common Places Where Hardware Becomes Loose
Loose hardware can show up almost anywhere in your home or workspace. Here are the most common trouble spots:
- Cabinet handles and knobs
- Door hinges and locks
- Furniture legs and armrests
- Bathroom fixtures
- Appliance panels and parts
- Wall-mounted items like shelves and TV brackets
- Outdoor gates and fencing hardware
Pro Tip: Perform a quick monthly inspection around your home to catch issues early and prevent long-term damage.
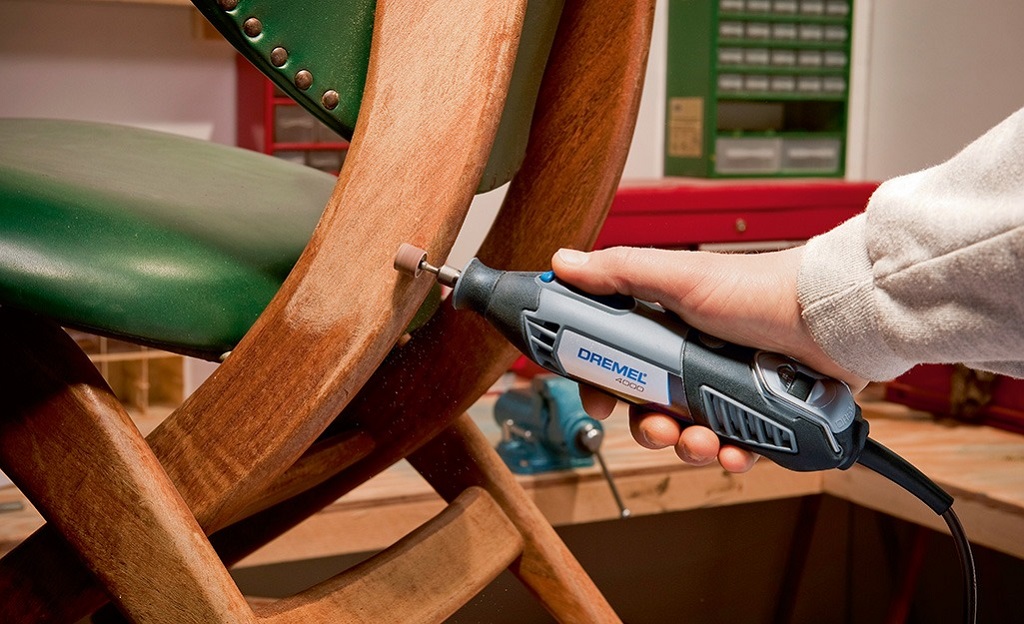
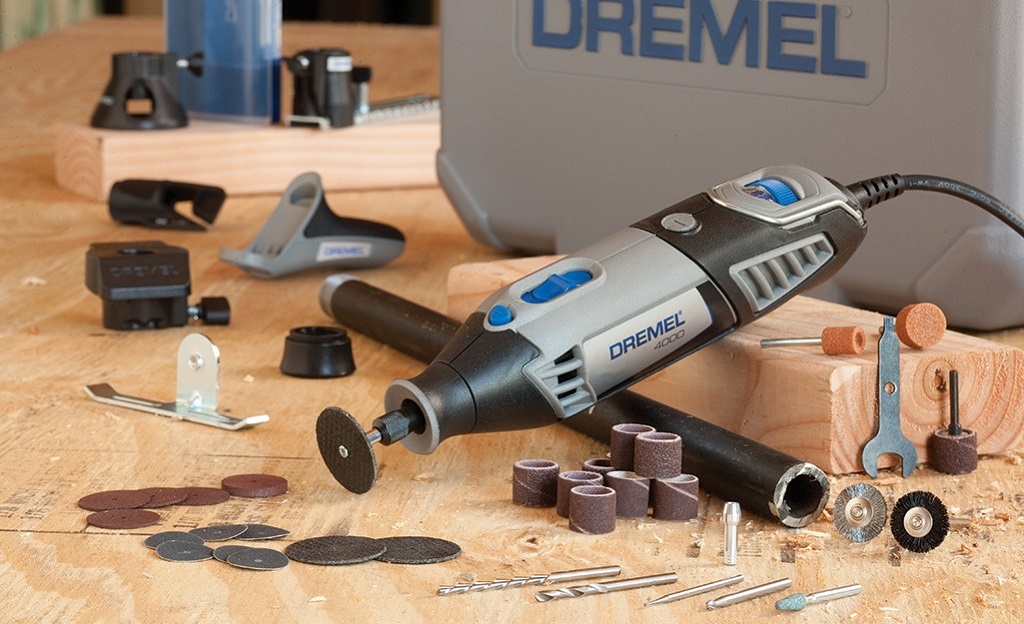
🛠 Tools You’ll Need to Tighten Hardware
Having the right tools on hand makes tightening hardware faster and safer. Here’s a list of essential tools every DIYer should keep in their toolbox:
- Screwdriver set (Phillips and flathead)
- Allen wrench/hex key set
- Socket wrench set
- Pliers
- Adjustable wrench
- Thread-locking adhesive (like Loctite for high-vibration parts)
- Flashlight (for inspecting tight or dark spaces)
- Level (to ensure things like shelves and doors are aligned)
✅ Step-by-Step: How to Tighten Loose Hardware Safely
Step 1: Identify the Loose Hardware
Start with a visual inspection. If something looks crooked, wobbly, or squeaky, it’s a candidate. Move the object slightly and listen for rattles or clicking noises.
Step 2: Choose the Right Tool
Use the appropriate screwdriver, Allen wrench, or socket. For example, furniture often uses Allen bolts, while doors and appliances use Phillips screws.
Step 3: Remove Obstructions
If a handle or bolt is hidden behind a plate or cover, gently remove it before tightening.
Step 4: Tighten Gradually
Avoid over-tightening. Start slowly and gradually apply more force to avoid stripping the screw or cracking surrounding wood or metal.
Step 5: Apply Thread-Locking Adhesive (Optional)
For high-vibration items like bikes, exercise equipment, or power tools, consider using a small drop of thread locker to keep screws in place.
Step 6: Test the Stability
Once tightened, wiggle or test the component. A well-tightened piece should feel secure and solid.
🔄 What If the Screw or Bolt Won’t Tighten?
If a screw keeps spinning or doesn’t hold, it likely has stripped threads or a worn-out hole. Here’s how to fix it:
- Use a toothpick and wood glue trick: Insert toothpicks dipped in wood glue into the hole, let dry, then reinsert the screw.
- Replace with a larger diameter screw.
- Use a thread repair kit (like a Helicoil).
- Apply thread sealant or use Teflon tape if it’s a plumbing fitting.
- Use plastic anchors if inserting into drywall or thin plastic.
- Consider replacing the plastic housing if cracking occurs.
💡 Expert Tips to Prevent Loose Hardware in the Future
- Check Seasonally: Temperature and humidity fluctuations can cause materials to expand and contract, loosening hardware over time.
- Lubricate Moving Parts: Door hinges and drawer slides should be lubricated every few months to prevent wear and squeaks.
- Use Thread Lock: Especially on items prone to vibration or frequent use, like power tools or exercise machines.
- Avoid Overtightening: This can strip screws and damage surfaces. Use a torque screwdriver for precision jobs.
- Upgrade Your Hardware: Cheap screws or hinges are more likely to fail. Invest in quality stainless steel or brass for durability.
⚠️ When to Call a Professional
While tightening hardware is usually a DIY-friendly task, there are situations where professional help is best:
- If the component is part of structural support, like stair railings or load-bearing shelving.
- If the loose hardware is connected to electric or plumbing systems.
- If you’ve attempted to tighten multiple times with no success.
In such cases, a licensed contractor or handyman can provide a more permanent fix and ensure safety compliance.
💬 FAQs About Tightening Hardware
Q: How often should I check my hardware?
A: Ideally, every 3–6 months, especially in high-use areas like the kitchen or bathroom.
Q: What’s the best thread-locking adhesive?
A: Loctite Blue is popular for general use. Red Loctite is stronger but often permanent.
Q: Is it better to use hand tools or power tools?
A: Hand tools give better control and reduce the risk of over-tightening. Use power tools with a torque setting when precision isn’t crucial.
Q: Can I reuse old screws and bolts?
A: If they’re not rusted, stripped, or bent, yes. But replacing old hardware is often the safest bet.
📦 Bonus: Hardware Maintenance Checklist
Here’s a quick checklist to make tightening hardware part of your regular home maintenance routine:
- Inspect door hinges and handles
- Check furniture legs and frames
- Tighten kitchen and bathroom cabinet knobs
- Examine curtain rods and blinds
- Test shelves and wall mounts
- Inspect outdoor gate hardware
- Check exercise equipment and tools
- Lubricate moving metal parts
- Replace rusted or stripped hardware
Read More Also: How to Balance a Hammer for Carpentry
🚀 Conclusion: Don’t Let Loose Hardware Be Your Downfall
Loose hardware may seem like a minor issue, but it can lead to major headaches if left unchecked. With just a few simple tools and a proactive mindset, you can ensure everything in your home stays secure, safe, and functioning properly.
Take control today—walk through your home, grab your toolbox, and start tightening up your space.
Read More Also: Why Jigsaw Burns Wood While Cutting
📢 Call to Action (CTA)
🔧 Ready to become your home’s go-to handyman or handywoman?
Subscribe to our newsletter for more easy DIY tutorials, expert home maintenance tips, and tool recommendations. Don’t forget to share this article with a friend who could use a little tightening up in their life!