Imagine this: It’s a chilly winter evening. You’re curled up on the couch, blanket pulled tight, hot cocoa in hand, ready to enjoy a peaceful night. But then you feel it – a sneaky, persistent draft snaking its way from under the door or around the window frame. Suddenly, your cozy haven feels a lot less… cozy. And worse, you can almost hear the gentle whoosh of your hard-earned money escaping through those tiny gaps, right along with your precious heat.
Sound familiar? If so, you’re not alone. Drafts are a common household nuisance, but they’re more than just an annoyance. They’re energy vampires, silently draining your utility budget month after month. The culprit? Often, it’s worn-out, cracked, or missing weatherstripping.
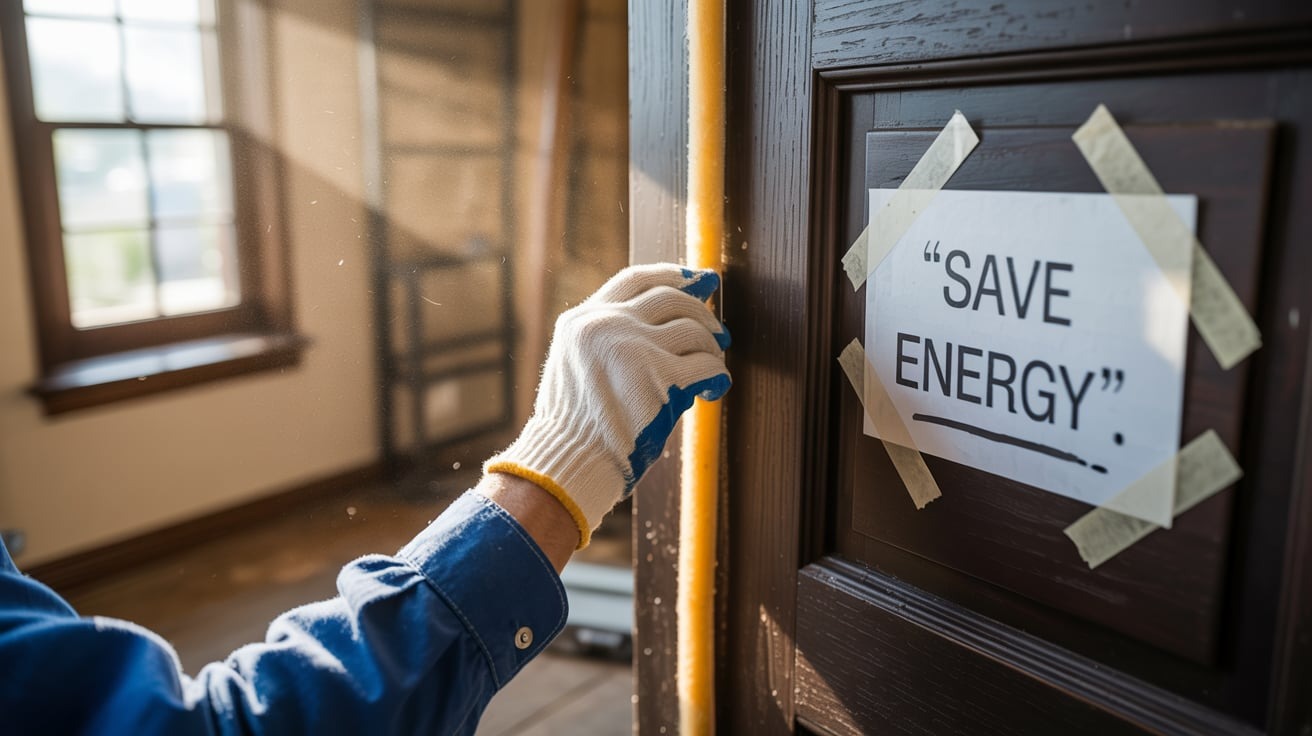
But here’s the good news: replacing weatherstripping is one of the most cost-effective and impactful DIY home improvement projects you can undertake. It’s a simple fix that yields significant returns, boosting your home’s energy efficiency, enhancing comfort, and even reducing outside noise. Ready to banish those drafts for good and start saving? Let’s dive in!
Why is Weatherstripping Your Home’s Unsung Hero?
Before we get our hands dirty, let’s understand why this unassuming material plays such a crucial role in your home’s performance. Weatherstripping acts as a flexible seal, filling the tiny gaps between a door or window frame and its movable components (the door slab or window sash). Think of it as a custom-fitted gasket for your home’s openings.
Its primary functions include:
- Blocking Air Infiltration/Exfiltration: This is its superpower. It prevents unwanted outside air from seeping in (cold drafts in winter, hot air in summer) and conditioned inside air from escaping. This direct control over airflow is central to maintaining stable indoor temperatures.
- Improving Energy Efficiency: By creating an airtight seal, weatherstripping dramatically reduces the workload on your HVAC system. Your furnace won’t have to constantly battle incoming cold air, and your air conditioner won’t lose its cool to the sweltering heat outside. This translates directly to lower heating and cooling bills.
- Enhancing Comfort: No more battling cold spots near windows or doors. A well-sealed home feels consistently comfortable throughout, regardless of the weather outside.
- Reducing Noise Pollution: Beyond temperature, weatherstripping also acts as a sound barrier, muffling outdoor noises like traffic, barking dogs, or neighborhood chatter.
- Keeping Out Pests and Moisture: Those small gaps aren’t just for air. They’re also an open invitation for insects, dust, and even moisture. Effective weatherstripping helps seal off these entry points.
Given these benefits, it’s clear that replacing old weatherstripping isn’t just a repair; it’s an investment in your home’s long-term comfort and economy.
Spotting the Signs: When is it Time to Replace Your Weatherstripping?
How do you know if your weatherstripping is past its prime? Fortunately, the signs are usually quite obvious:
- Visible Cracks, Tears, or Gaps: The most direct indicator. If you can see light through a closed door or window, or if the existing weatherstripping is crumbling, brittle, or torn, it’s definitely time for a change.
- Feeling a Draft: The classic tell-tale sign. Hold your hand near the edges of closed doors and windows, especially on a windy day. If you feel a distinct draft, your seal is compromised. You can also try the “candle test” – hold a lit candle or incense stick near the gap; if the flame flickers or smoke wavers, air is moving through.
- Higher Energy Bills: If your heating and cooling costs seem inexplicably high, especially compared to previous years or similar homes, drafty openings are a likely culprit.
- Frost or Condensation Inside: In cold weather, moisture from inside your home can condense or even freeze on cold surfaces. If you see frost or significant condensation on the inside of your window sashes or door frames, it could indicate air leakage.
- Difficulty Closing/Latching Doors or Windows: Sometimes, old, swollen, or improperly installed weatherstripping can actually interfere with the smooth operation of doors and windows.
Don’t wait until these issues become severe. Addressing them promptly by upgrading weatherstripping can save you significant discomfort and money.
Choosing the Right Weapon: Types of Weatherstripping
Before you begin the weatherstripping replacement process, you need to select the right type for your specific needs. Different materials and designs are suited for different applications and levels of durability.
Here are the most common types:
- Foam Tape (Self-Adhesive):
- Pros: Inexpensive, very easy to install (peel-and-stick), good for irregular gaps.
- Cons: Less durable, tends to compress and degrade over time, not ideal for high-traffic areas.
- Best for: Lesser-used windows, temporary fixes, or to seal very small, irregular gaps.
- V-Strip (Spring Bronze or Vinyl):
- Pros: Durable, long-lasting, creates a tight seal by springing open against the sash or door.
- Cons: Can be trickier to install, may require screws or staples.
- Best for: Double-hung windows, door frames, or areas needing a strong, permanent seal.
- Tubular (Gasket) Weatherstripping (Silicone, EPDM Rubber):
- Pros: Highly durable, excellent sealing properties, flexible, good for larger or varying gaps. Some types fit into kerfs (slotted grooves).
- Cons: Can be more expensive, some types require professional installation or specific door/window designs.
- Best for: Exterior doors (especially around the frame), modern windows with kerf-style grooves.
- Felt:
- Pros: Inexpensive, easy to install (staple or glue).
- Cons: Not very durable, prone to wear, absorbs moisture.
- Best for: Very temporary solutions or minor gaps in low-traffic areas.
- Door Sweeps/Bottom Seals:
- Pros: Specifically designed for the bottom of doors, effective at blocking drafts and pests. Various types exist (brush, vinyl fin, automatically lowering).
- Cons: Must be properly aligned to avoid drag.
- Best for: Exterior doors to seal the gap between the door bottom and the threshold.
- Thresholds with Gasket:
- Pros: Replaces the entire threshold, creating a very robust seal at the bottom of the door.
- Cons: More involved installation, may require cutting and shimming.
- Best for: When the existing threshold is damaged or insufficient.
When selecting, consider the type of door or window, the size of the gap, the expected foot traffic, and your budget. For durable solutions, silicone or EPDM rubber (a type of synthetic rubber) are often excellent choices for their longevity and resilience.
The DIY Journey: How to Replace Weatherstripping Like a Pro
Ready to get started? While the specifics might vary slightly depending on the type of weatherstripping and the area you’re sealing, here’s a general step-by-step guide for a successful weatherstripping replacement project:
Tools You’ll Likely Need:
- Utility knife or scissors
- Pry bar or flat-head screwdriver (for removing old weatherstripping)
- Clean rags
- All-purpose cleaner or rubbing alcohol
- Measuring tape
- Hammer (for nail-on types)
- Drill (for screw-in types or door sweeps)
- Caulking gun (if using caulk for gaps)
Step-by-Step Instructions:
-
Assess and Measure:
- Carefully inspect the existing weatherstripping to understand its type and how it’s installed.
- Measure the length of all sides of the door or window frame that require new weatherstripping. For doors, measure both sides and the top. For windows, measure all four sides of the sash or frame. Add a little extra to your measurements (10-15%) for cutting errors.
-
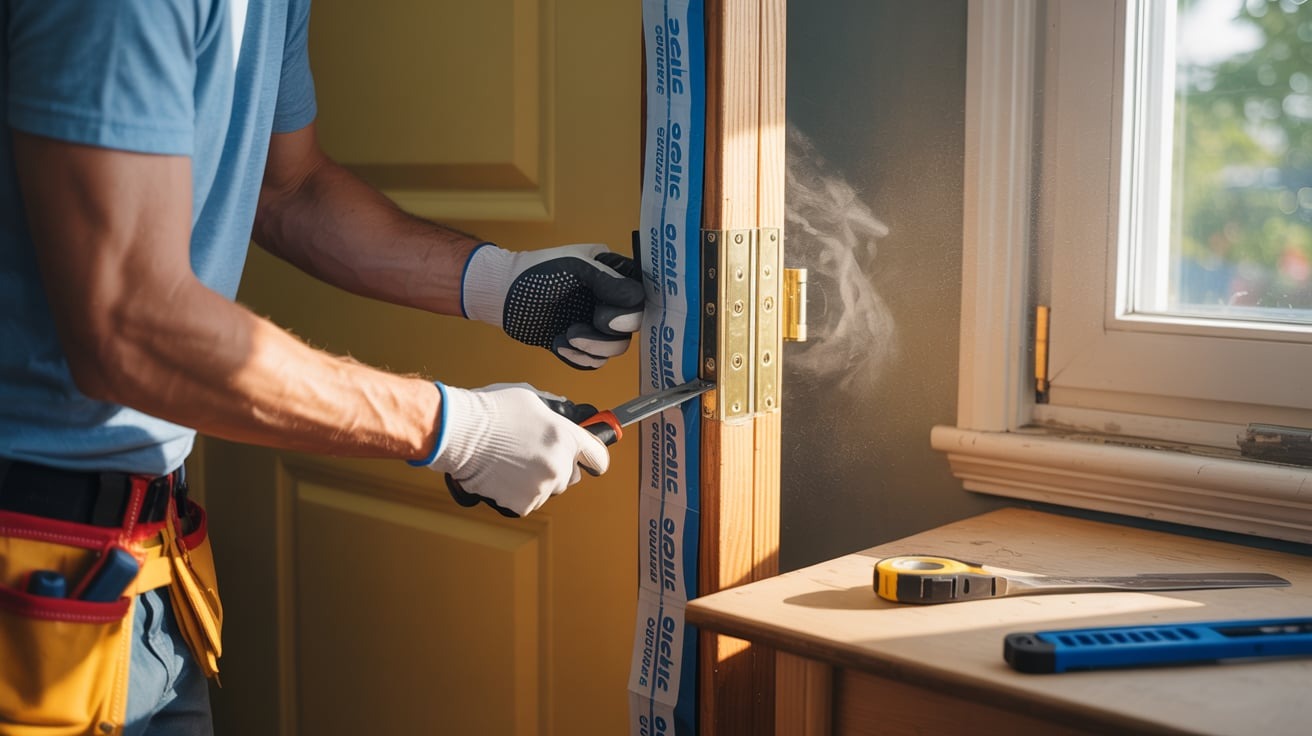
Remove the Old Weatherstripping:
- This is often the trickiest part. Use a utility knife to carefully cut away old foam tape or felt.
- For nailed or stapled weatherstripping, gently pry it off using a pry bar or flat-head screwdriver. Be careful not to damage the door or window frame.
- For kerf-style weatherstripping, it usually just pulls out of the groove.
-
Clean the Surface Thoroughly:
- This is a crucial step for proper adhesion and a lasting seal. Use a putty knife or scraper to remove any stubborn adhesive residue, paint chips, or debris.
- Wipe down the entire area with a clean rag and an all-purpose cleaner or rubbing alcohol to remove dirt, grease, and dust. Allow it to dry completely. A clean surface ensures your new weatherstripping sticks firmly.
-
Install the New Weatherstripping:
- For Adhesive Foam Tape: Cut to length, peel off the backing, and press firmly into place, starting at one end and working your way along. Don’t stretch the tape.
- For V-Strip (Spring Bronze/Vinyl): Cut to length. If it’s adhesive, follow the foam tape instructions. If it’s nail-on, align it carefully so the “V” opens towards the moving part (door/sash) and nail or staple it into the frame, ensuring it’s snug but doesn’t impede movement.
- For Tubular (Gasket) Kerf-Style: Simply push the fin or dart into the existing kerf groove in the door or window frame. Start at one corner and work your way around, ensuring it’s fully seated.
- For Door Sweeps: Measure the width of your door. Cut the sweep to size if necessary. Position it against the bottom of the door so it barely touches the threshold when the door is closed. Mark screw holes, pre-drill if recommended, and then screw it into place.
- For Replacement Thresholds: This is a more advanced project, often requiring removal of the old threshold, shimming, and precise fitting. If you’re not comfortable with carpentry, consider professional help.
-
Test and Adjust:
- Once installed, slowly open and close the door or window multiple times.
- Listen for any rubbing or sticking. The goal is a snug seal that doesn’t prevent smooth operation.
- If the door or window is difficult to close, you might need to slightly adjust the weatherstripping’s position or trim a bit off. If it’s too loose, you might need to apply a second layer in some areas (for foam tape) or consider a thicker type.
- Perform the draft test again (candle or hand) to ensure a complete seal.
Pro Tips for a Perfect Seal and Longevity
- Work in Moderate Temperatures: Extreme heat or cold can affect the adhesion of self-adhesive weatherstripping. A mild, dry day is ideal.
- Measure Twice, Cut Once: This old adage holds true. Precision matters for a good seal.
- Don’t Overcompress: While you want a tight seal, don’t choose weatherstripping that’s so thick it makes it difficult to close your door or window. This will cause premature wear.
- Consider Caulking: For stationary gaps or cracks in the frame itself (not where the door or window moves), exterior-grade caulk is your best friend. Caulk and weatherstripping work hand-in-hand for a comprehensive seal.
- Regular Maintenance: Periodically check your weatherstripping for signs of wear. Clean it gently with a damp cloth to remove dirt and grime. For rubber or vinyl types, a little silicone lubricant can help maintain flexibility.
- Don’t Forget the Threshold: The bottom of your exterior door is a major culprit for drafts. Ensure your door sweep and threshold are in good condition.
Read More Also: Woodworking with Pneumatic Tools
Beyond Weatherstripping: A Holistic Approach to Energy Efficiency
While replacing door weatherstripping and window weatherstripping is incredibly effective, it’s just one piece of the energy efficiency puzzle. For maximum savings and comfort, consider a holistic approach:
- Insulation: Ensure your attic, walls, and crawl spaces are adequately insulated.
- Window and Door Upgrades: If your windows and doors are very old and inefficient, even new weatherstripping might not be enough. Consider upgrading to energy-efficient models.
- Sealing Air Leaks: Beyond doors and windows, check for leaks around electrical outlets, light fixtures, plumbing penetrations, and chimney flashing. Use caulk and expanding foam to seal these.
- HVAC Maintenance: Regular servicing of your heating and cooling system ensures it runs efficiently.
Read More Also: Tighten Pipe Wrench Jaws with the Shim Trick
Conclusion: Seal the Deal, Feel the Difference!
Replacing weatherstripping might seem like a small detail, but its impact on your home’s comfort, energy bills, and overall efficiency is anything but. It’s a straightforward, satisfying DIY project that empowers you to take control of your indoor climate and reduce your environmental footprint.
So, if you’ve been battling drafts, enduring escalating energy bills, or simply want to make your home a more comfortable sanctuary, now is the time to act. Inspect your existing seals, choose the right materials, and follow our guide to install new weatherstripping with confidence.
Ready to banish those drafts and embrace a cozier, more energy-efficient home? Take the first step today – your wallet (and your comfort) will thank you!