A damaged roof can quickly turn into a serious problem if you ignore it. Even a small leak can lead to mold growth, structural damage, and higher energy bills. According to the Federal Emergency Management Agency, water damage is one of the most common and costly home repair issues in the United States. In fact, the National Association of Home Builders reports that roof repairs rank among the top maintenance tasks homeowners face each year.
This guide explains how to repair a roof step by step in a clear and practical way. You will learn how to fix leaks, replace damaged shingles, and prevent future issues. Whether you are dealing with minor damage or more serious wear, this article will help you handle the job safely and effectively.
Understanding Common Roof Problems
Before starting any repair, you need to understand what causes roof damage. This helps you fix the root problem instead of just covering the symptoms.
Roof issues often develop over time due to weather exposure. Strong winds, heavy rain, and extreme heat all weaken roofing materials. As a result, shingles may crack, curl, or fall off completely.
Common roof problems include:
- Leaks caused by broken shingles or flashing
- Water pooling on flat roofs
- Mold or mildew growth in damp areas
- Damaged flashing around vents and chimneys
- Loose or missing shingles after storms
In many cases, leaks start small and remain hidden. However, they can spread quickly and damage insulation, ceilings, and walls. That is why early detection plays a key role in successful repair.
Tools and Materials You Will Need
Having the right tools makes the process smoother and safer. You should gather everything before climbing onto the roof.
Basic tools include:
- Ladder with proper support
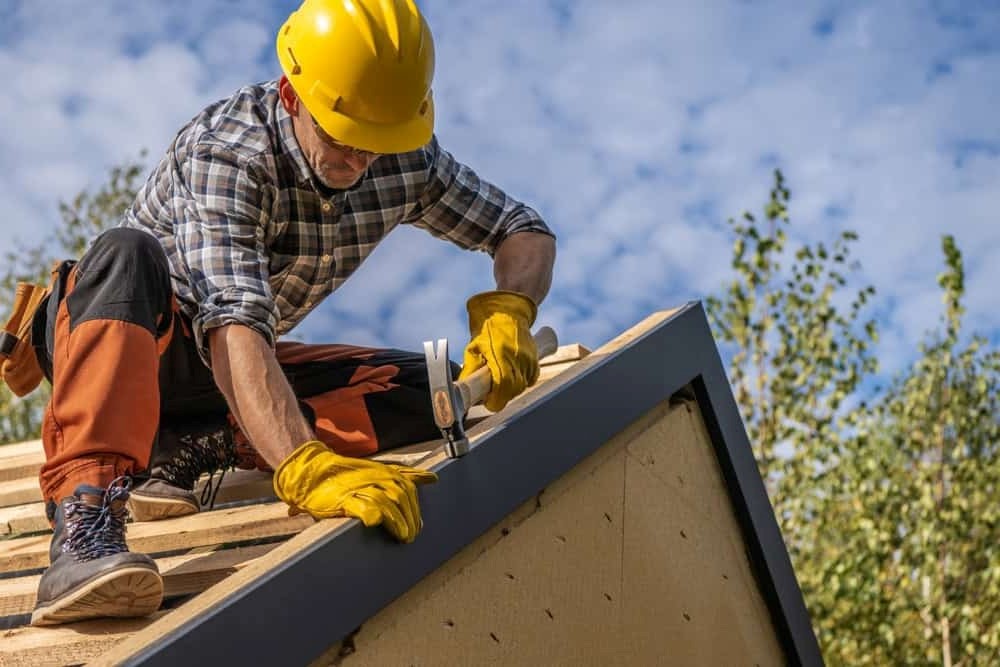
- Roofing nails and hammer
- Roofing sealant or adhesive
- Utility knife
- Pry bar for removing shingles
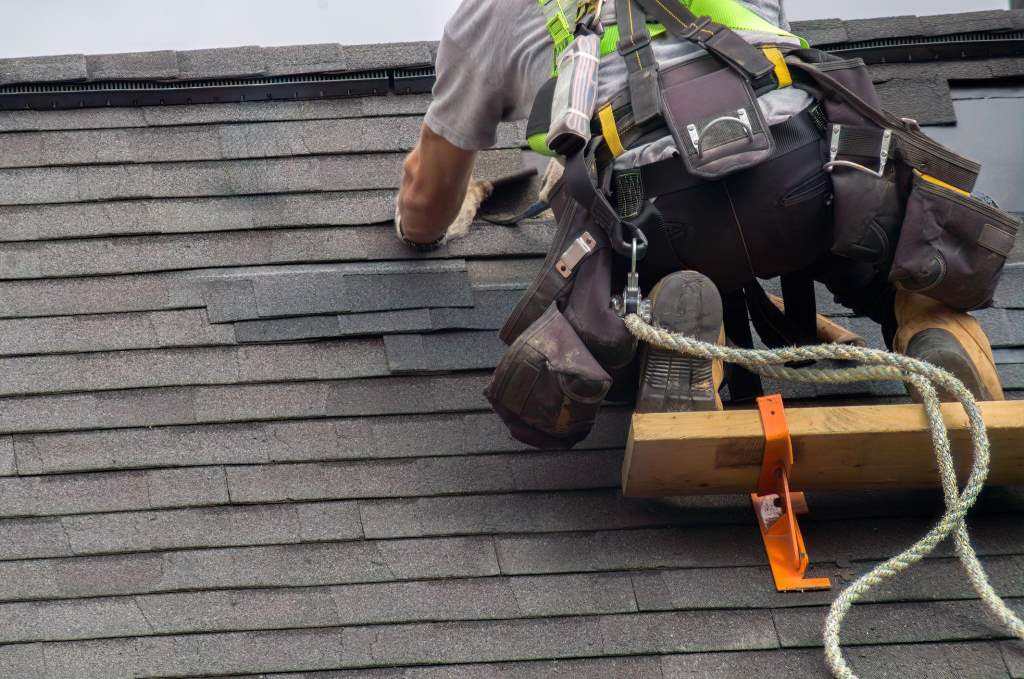
- Safety harness and gloves
In addition, you may need replacement shingles, flashing pieces, and underlayment depending on the damage. Using quality materials ensures your repair lasts longer and reduces the need for repeat fixes.
Safety First: Preparing for Roof Repair
Roof repair involves risk, so safety must come first. Slippery surfaces and steep slopes increase the chance of falls.
Always follow these precautions:
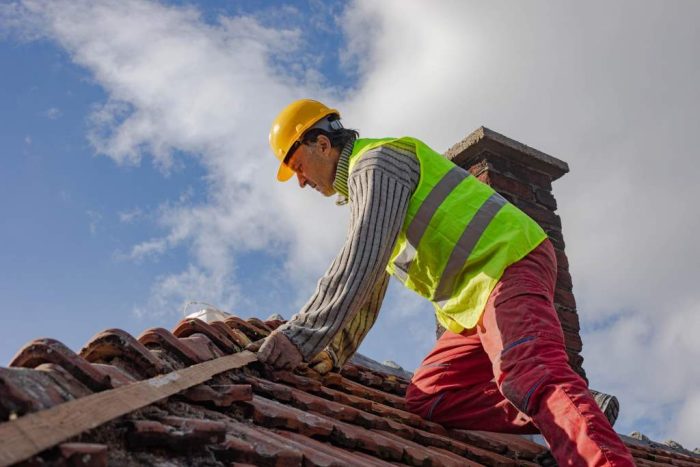
- Wear non slip shoes for better grip
- Use a sturdy ladder placed on even ground
- Avoid working during rain or strong winds
- Secure yourself with a safety harness if the roof is steep
- Keep tools organized to prevent tripping
Moreover, working with a partner can improve safety. Someone on the ground can assist and respond quickly if needed.
Step by Step Guide to Fixing Roof Leaks
Step 1: Locate the Source of the Leak
Start by identifying where the leak originates. This step requires careful inspection both inside and outside the house.
Inside the attic, look for water stains, mold, or damp insulation. Follow the path of moisture upward to find the entry point. Outside, check for missing shingles, cracked flashing, or damaged areas.
Keep in mind that water can travel along beams before dripping down. Therefore, the visible stain may not match the actual leak location.
Step 2: Remove Damaged Shingles
Once you find the problem area, remove the damaged shingles. Use a pry bar to lift them carefully.
Slide the tool under the shingle and loosen the nails holding it in place. Avoid damaging nearby shingles during this step. If surrounding shingles look weak, consider replacing them as well.
This step prepares the surface for proper repair and ensures a strong seal.
Step 3: Repair or Replace Flashing
Flashing protects vulnerable areas such as chimneys, vents, and valleys. Damaged flashing often causes leaks.
Inspect these areas closely. If the flashing is bent or cracked, remove it and install a new piece. Apply roofing sealant underneath to create a waterproof barrier.
Proper flashing repair prevents future leaks and strengthens the roof structure.
Step 4: Install New Shingles
Place new shingles in the cleared area. Align them properly with existing rows to maintain a uniform look.
Secure each shingle with roofing nails. Then, apply a small amount of sealant under the edges for extra protection.
Make sure the shingles overlap correctly. This design helps water flow off the roof instead of seeping underneath.
Step 5: Seal and Test the Repair
After replacing materials, seal all edges and exposed nails. Use roofing sealant to cover any gaps.
Next, test the repair by running water over the area with a hose. Check inside the attic for any signs of moisture.
If no leaks appear, the repair is successful. Otherwise, recheck the area and apply additional sealing where needed.
Fixing Different Types of Roof Damage
Shingle Roof Repair
Shingle roofs are common in the United States. They are durable but prone to wear over time.
To repair shingle damage:
- Replace missing or cracked shingles
- Reinforce loose areas with adhesive
- Check for granule loss which indicates aging
Regular maintenance extends the life of shingle roofs and prevents costly repairs.
Flat Roof Repair
Flat roofs often face water pooling issues. Standing water increases the risk of leaks.
Repair steps include:
- Cleaning debris from the surface
- Applying waterproof coating
- Fixing cracks with specialized sealant
Proper drainage is essential for flat roofs. Therefore, ensure gutters and drains remain clear.
Metal Roof Repair
Metal roofs are strong but can develop rust or loose fasteners.
To fix metal roofing:
- Tighten or replace screws
- Seal seams and joints
- Remove rust and apply protective coating
These steps help maintain durability and prevent corrosion.
Preventing Future Roof Damage
Repairing your roof is important, but prevention saves time and effort. Regular maintenance keeps your roof in good condition.
Follow these tips:
- Inspect your roof twice a year
- Clean gutters to prevent water buildup
- Trim nearby trees to avoid falling branches
- Check attic ventilation to reduce moisture
Additionally, addressing small issues early prevents major damage later. Consistent care improves the lifespan of your roof.
When to Call a Professional
While many repairs are manageable, some situations require expert help. Complex damage or structural issues need professional skills.
Consider hiring a roofing specialist if:
- The damage covers a large area
- The roof structure is weakened
- You feel unsafe working at heights
- Leaks continue after repair attempts
Professional roofers have the tools and experience to handle difficult repairs safely and efficiently.
Conclusion
Repairing a roof may seem challenging, but breaking it into steps makes it manageable. Start by identifying the problem, gather the right tools, and follow a structured repair process. Fix damaged shingles, repair flashing, and seal every gap carefully.
Regular inspection and maintenance play a crucial role in preventing future issues. When problems go beyond basic repair, seek professional help to avoid further damage.
Take action today and keep your roof strong, safe, and leak free for years to come.
FAQs
What is the easiest way to fix a roof leak?
The easiest method involves locating the leak, replacing damaged shingles, and sealing gaps with roofing sealant. Quick action prevents further damage.
How long does a roof repair last?
A proper repair can last several years if done correctly. However, the lifespan depends on material quality and weather conditions.
Can I repair a roof myself?
Yes, you can handle minor repairs if you follow safety guidelines. For major issues, professional help is recommended.
What causes roof leaks the most?
Common causes include damaged shingles, faulty flashing, clogged gutters, and poor installation.
How often should I inspect my roof?
Inspect your roof at least twice a year and after major storms. Regular checks help detect problems early.