Gutters protect your home from water damage by directing rainwater away from the foundation. Proper installation ensures long-lasting performance and prevents costly repairs. This guide explains the steps, tools, and tips for installing gutters effectively. Whether you’re a homeowner or seeking professional gutter services, understanding the process helps you make informed decisions. From choosing materials to maintaining your system, we cover everything you need to know. Read on to learn how to install gutters correctly and keep your home safe.
Why Gutters Matter for Your Home
Gutters channel rainwater away from your home, preventing damage to walls, roofs, and foundations. Without them, water can pool around the base, causing cracks or erosion. Additionally, gutters reduce soil erosion in your yard and protect landscaping.
Properly installed gutters also prevent leaks inside your home. Water overflow can seep into basements or crawl spaces, leading to mold growth. Therefore, investing time in gutter installation saves money on future repairs. Regular maintenance, like cleaning debris, ensures they function well year-round.
Choosing the Right Gutter Installation Materials
Selecting the right material impacts durability and maintenance. Common options include aluminum, vinyl, and steel. Aluminum is lightweight, rust-resistant, and widely used. Vinyl is affordable but may crack in extreme cold. Steel is strong but prone to rust without proper coating.
Consider your climate and budget when choosing. For example, aluminum suits most regions due to its versatility. Additionally, seamless gutters reduce leaks compared to sectional ones. Consult roofing services to determine the best fit for your home. Always prioritize quality to avoid frequent replacements.
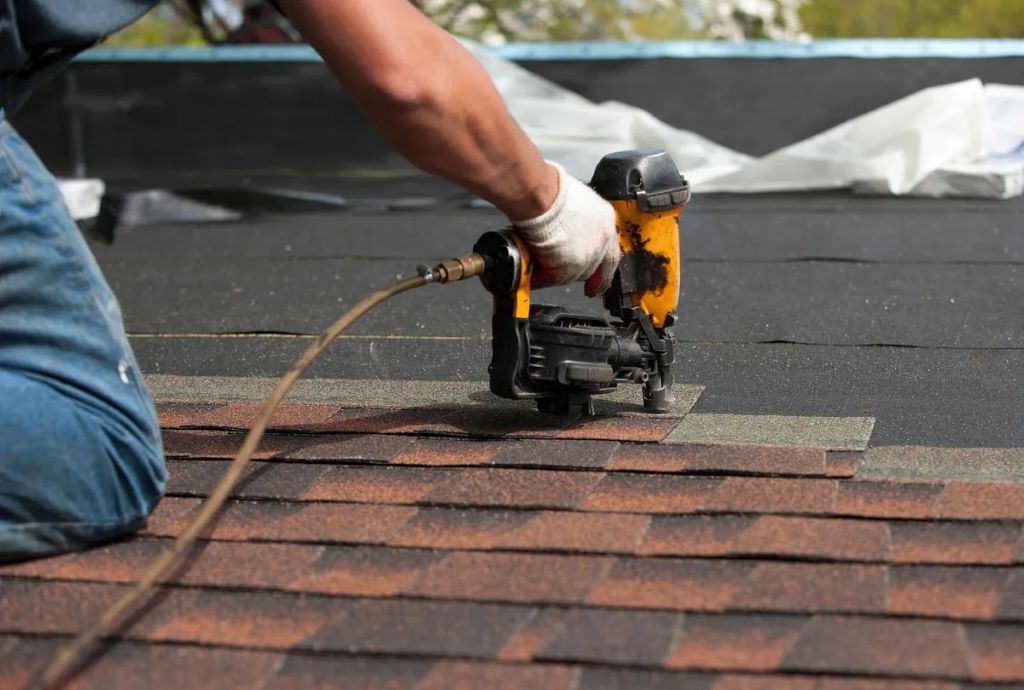
Tools and Supplies Needed
Before starting, gather the necessary tools and materials. You’ll need gutters, downspouts, brackets, and sealants. Essential tools include a ladder, measuring tape, hacksaw, and drill. Safety gear, like gloves and goggles, is crucial to prevent injuries.
Additionally, ensure you have enough hangers to secure the gutters. A level helps maintain proper slope for water flow. If cutting gutters, use tin snips for precision. Having all supplies ready saves time and ensures a smooth installation process.
Basic Supply List
- Gutters and downspouts
- Hangers and brackets
- Sealant and screws
- Ladder, drill, and level
Step-by-Step Gutter Installation Process
Step 1: Plan and Measure
Measure your roof’s edge to determine gutter length. Add extra for corners and downspouts. Plan the slope, aiming for a ¼-inch drop every 10 feet. This ensures water flows toward downspouts. Mark the layout with chalk for accuracy.
Proper planning prevents errors. For instance, incorrect slopes cause water to pool, leading to overflow. Therefore, double-check measurements before cutting materials. If unsure, consult a professional to avoid costly mistakes.
Step 2: Cut and Assemble Gutters
Cut gutters to size using a hacksaw or tin snips. Attach end caps and connectors with sealant to prevent leaks. Assemble sections on the ground for easier handling. Ensure all joints are secure before mounting.
Assembling on the ground saves time and reduces ladder trips. However, handle pieces carefully to avoid dents. Test connections for leaks by pouring water through them. This step ensures a watertight system once installed.
Step 3: Install Hangers and Mount Gutters
Attach hangers to the fascia board every 24 inches. Use a level to maintain the planned slope. Secure gutters to hangers with screws, ensuring they’re snug. Check alignment before fully tightening.
Proper hanger spacing prevents sagging. If hangers are too far apart, gutters may bend under heavy rain. Additionally, ensure the fascia board is sturdy. Rotten wood won’t support the system, so replace damaged boards first.
Step 4: Add Downspouts
Install downspouts at marked locations, connecting them to gutters with elbows. Secure them to the wall with brackets. Direct the downspout’s end away from the foundation using a splash block or extension.
Downspouts must channel water at least 5 feet from the house. Otherwise, water may seep into the foundation. Regularly check downspouts for clogs, as debris can cause backups. Proper placement protects your home’s base.
Common Mistakes to Avoid
Incorrect slope is a frequent error. Gutters need a slight tilt to direct water properly. Without it, water pools and overflows. Always use a level during installation to ensure the right angle.
Another mistake is using too few hangers. This causes gutters to sag or detach during storms. Space hangers evenly for stability. Additionally, neglecting sealant at joints leads to leaks. Apply sealant generously to all connections.
Maintaining Your Gutters
Regular maintenance keeps gutters functional. Clean them twice a year to remove leaves and debris. Use a ladder and scoop to clear blockages. Rinse with a hose to ensure smooth water flow.
Inspect gutters for damage after storms. Look for dents, loose hangers, or leaks. Repair small issues promptly to avoid bigger problems. Additionally, consider gutter guards to reduce debris buildup. They save time and effort in the long run.
When to Hire a Professional
DIY gutter installation saves money but requires skill. If your home has a complex roofline, hiring a professional is wise. Experts ensure proper installation and handle safety risks, like working at heights.
Professionals also offer warranties, giving peace of mind. If you lack time or tools, outsourcing is practical. Contact trusted roofing services for quotes. Compare experience and reviews before choosing a contractor to ensure quality work.
Conclusion
Installing gutters protects your home from water damage and enhances its longevity. By choosing the right materials, using proper tools, and following the steps outlined, you can achieve a reliable system. Regular maintenance ensures gutters perform well for years. Avoid common mistakes like incorrect slopes or sparse hangers to prevent issues. If the task feels overwhelming, professional help is a smart choice.