Angle grinders are powerful tools that make cutting, grinding, and polishing easier across a wide range of projects. But like any hardworking power tool, your angle grinder needs regular maintenance to keep performing at its best. One of the most overlooked yet essential tasks? Cleaning your angle grinder.
If your grinder seems sluggish, emits burning smells, or isn’t delivering the same results, it might be clogged with debris or dust buildup. This article will walk you through how to clean your angle grinder step-by-step, what tools and materials you’ll need, safety precautions to follow, and how proper cleaning can extend your tool’s lifespan.
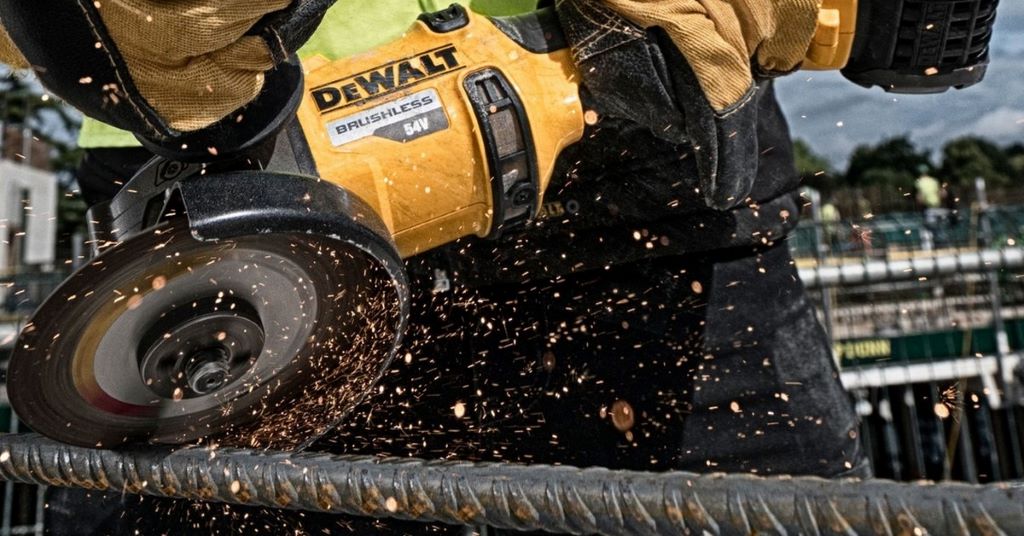
Let’s dive in—and bring your angle grinder back to life.
Why Cleaning Your Angle Grinder Is Essential
Over time, metal shavings, dust, grease, and even moisture can accumulate inside and outside your angle grinder. If left unchecked, this buildup can:
- Reduce motor efficiency
- Cause overheating
- Create fire hazards
- Dull performance
- Shorten your tool’s life
Regular maintenance of angle grinders ensures smooth operation, improves safety, and saves you from costly repairs or replacements.
Whether you’re a DIY enthusiast or a professional, learning how to clean your grinder properly is a valuable skill.
When Should You Clean Your Angle Grinder?
Frequency depends on usage. For casual users, a thorough cleaning every few months is usually enough. For professionals or heavy-duty users, inspect and clean your angle grinder every few weeks or after completing major projects.
Key signs your angle grinder needs cleaning:
- Strange noise during operation
- Reduced RPM (rotations per minute)
- Overheating or burning smell
- Dust buildup visible on vents or motor housing
- Difficulty in switching on/off
Tools & Materials Needed
Before you start, gather the following tools and materials:
- Screwdrivers (Phillips and flat-head)
- Small soft brush (toothbrush works well)
- Compressed air can or air compressor
- Soft cloths or microfiber towels
- Electrical contact cleaner or isopropyl alcohol
- Grease or lubricant (manufacturer-approved)
- Protective gloves
- Safety goggles
Step-by-Step Guide: How to Clean Your Angle Grinder
Step 1: Disconnect Power Source
Safety first. Unplug the grinder if it’s corded. For cordless models, remove the battery pack. Never attempt maintenance on a powered grinder.
Step 2: Remove Attachments and Disassemble
Take off the cutting or grinding disc and detach the guard. Use the appropriate screwdriver to unscrew the casing. Keep track of all screws and small components.
If you’re unsure about how to disassemble your specific model, check the user manual or search for a PDF guide online.
Step 3: Clean the Exterior
Use a soft cloth to wipe off surface dust and dirt. Pay attention to the handle, trigger, and power cord (or battery port for cordless models).
Spray electrical contact cleaner lightly on the switch and wipe with a microfiber cloth.
Step 4: Blow Out Internal Dust
Use compressed air or an air compressor to blow out dust from the motor housing, vents, and fan blades. Make sure to hold the nozzle a few inches away to avoid damage.
Brush away any remaining particles gently with a soft brush. Dust accumulation in air vents is one of the main causes of angle grinder overheating.
Step 5: Clean the Brushes and Motor Area
Inspect the carbon brushes. If they are worn out or chipped, replace them. For brushes still in good shape, clean them gently with a dry cloth or brush.
You can use isopropyl alcohol to clean the brush holders and contact areas. Avoid using water or harsh chemicals, which may damage electrical components.
Step 6: Lubricate Moving Parts
Lubrication is crucial for reducing friction in moving parts. Apply a small amount of grease to:
- Spindle and bearings
- Gears (if accessible)
- Threaded areas
Make sure to use grease recommended by your angle grinder’s manufacturer. Over-greasing can attract more dust and debris.
Step 7: Reassemble the Grinder
Once everything is clean and dry, reassemble the grinder carefully. Tighten screws and ensure all parts are properly aligned.
Reattach the guard and blade. Make sure everything is secure before testing.
Step 8: Test the Grinder
Plug in or insert the battery and run the grinder for a few seconds to ensure it operates smoothly. If there’s any unusual noise or vibration, stop and recheck the assembly.

Pro Tips for Angle Grinder Maintenance
- Store Properly
Keep your angle grinder in a dry, dust-free toolbox or case. Avoid storing it on damp surfaces or exposed to moisture.
- Clean After Each Use
Wipe down the exterior and blow out dust after every project. Quick clean-ups can reduce the need for deep cleaning.
- Inspect Discs and Guards
Cracked discs or loose guards are safety hazards. Inspect them while cleaning, and replace damaged parts immediately.
- Check for Rust or Corrosion
Especially in humid environments, metal components may rust. Clean rust with a wire brush and apply anti-rust spray if necessary.
Common Cleaning Mistakes to Avoid
- Using water directly on internal parts – It can cause short circuits or rust.
- Skipping safety gear – Always wear gloves and goggles.
- Over-lubricating – Excess grease traps more dirt.
- Not disconnecting power – Even cordless tools can accidentally start.
FAQs: Cleaning and Maintenance of Angle Grinders
Q: Can I wash my angle grinder with water?
A: No. Avoid using water, especially on internal parts. Instead, use compressed air and dry brushes.
Q: How do I clean angle grinder vents?
A: Use a can of compressed air or a vacuum with a small nozzle. Regularly cleaning vents helps prevent overheating.
Q: What’s the best lubricant for angle grinders?
A: Use gear grease or light machine oil recommended by the manufacturer. Avoid household oils unless specified.
Q: Can I use WD-40 on my angle grinder?
A: WD-40 can be used sparingly on external metal parts for rust protection, but avoid spraying near motor or electrical components.
Final Thoughts
Cleaning your angle grinder is a simple yet powerful way to maintain its performance and extend its lifespan. Whether you use it for metalwork, construction, or home improvement, a clean grinder is safer, faster, and more efficient.
Make cleaning a regular habit—just like sharpening a knife or changing car oil. You’ll notice the difference in power, durability, and precision.
Call to Action
Got a dusty, underperforming grinder sitting in your garage? Don’t wait until it burns out—grab your tools and follow this guide to restore it to peak condition today.
And if you found this guide helpful, share it with fellow DIYers or subscribe for more tool care tips, troubleshooting advice, and gear reviews. Keeping your tools in top shape starts here!
Read More:
How to Change an Angle Grinder Disc Without a Wrench


