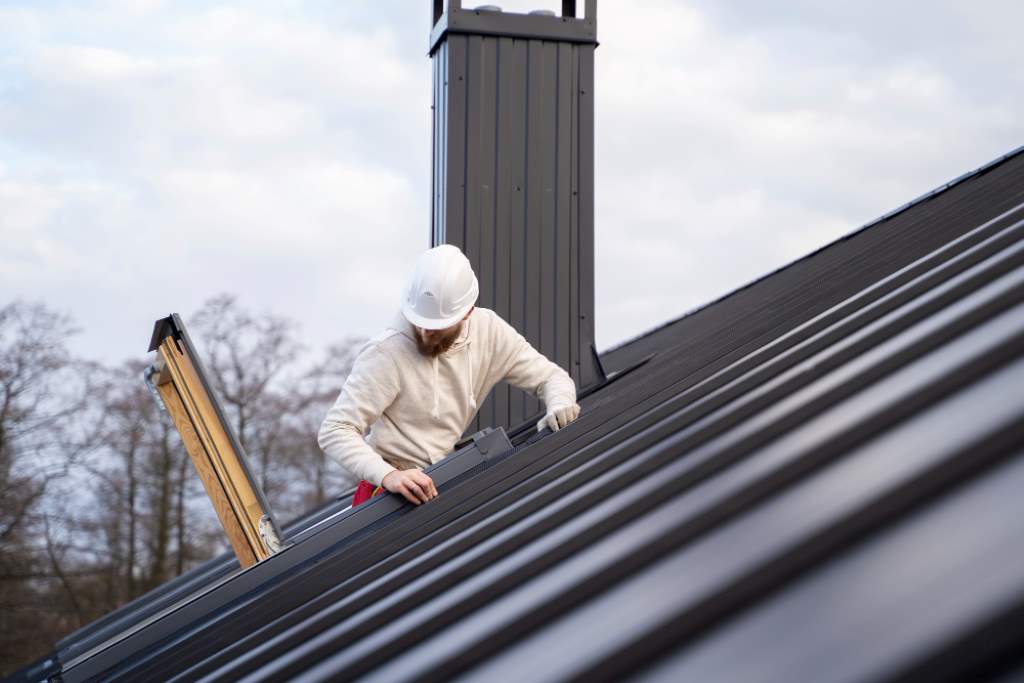
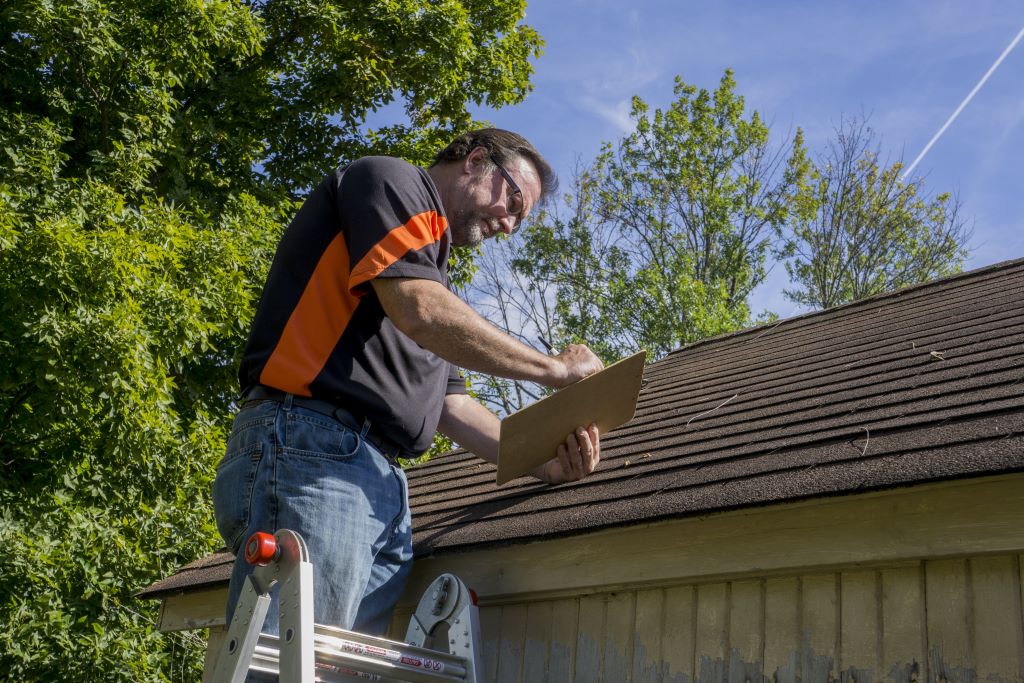
Installing a new roof is a significant home improvement project that enhances curb appeal and protects your property. Asphalt shingles are a popular choice due to their durability, affordability, and versatility. This guide provides a step-by-step approach to installing asphalt shingles, ensuring a professional finish. Whether you’re a homeowner or a DIY enthusiast, understanding the process is key. For expert assistance, Contact Reliable Roofing Company to ensure your project meets industry standards. Follow these instructions to achieve a long-lasting, weather-resistant roof.
This blog post covers preparation, installation techniques, and maintenance tips. With clear steps and practical advice, you’ll gain confidence in tackling this task or overseeing a professional job.
Why Choose Asphalt Shingles?
Asphalt shingles are a top roofing material for many homeowners. They offer a balance of cost, durability, and aesthetic appeal. Available in various colors and styles, they suit diverse architectural designs. Additionally, they withstand harsh weather, including rain, wind, and UV rays, making them ideal for most climates.
Their lightweight nature simplifies installation, reducing labor time. They also require minimal upkeep, which saves effort in the long run. However, proper installation is crucial to maximize their lifespan, typically 20–30 years. Understanding their benefits helps you make an informed choice to get good-quality asphalt shingles for your roofing project.
Tools and Materials Needed
Before starting, gather the necessary tools and materials. Having everything ready ensures a smooth installation process. Here’s what you’ll need:
- Asphalt shingles: Choose high-quality shingles suited to your climate.
- Underlayment: Use felt or synthetic underlayment for added protection.
- Roofing nails: Opt for corrosion-resistant nails, typically 1–1.25 inches long.
- Utility knife: Essential for cutting shingles accurately.
- Roofing hammer or nail gun: Speeds up the fastening process.
- Ladder and safety gear: Ensure safe access to the roof.
- Drip edge and flashing: Prevents water seepage at edges and joints.
Additionally, have a tape measure, chalk line, and caulk gun on hand. Check local building codes for specific requirements. Preparing these items in advance saves time and prevents delays during installation.
Preparing the Roof Surface
Proper preparation is critical for a successful installation. Start by removing old roofing materials, including shingles, nails, and debris. Inspect the roof deck for damage, such as rot or warping. Replace any compromised sections to ensure a stable base. A clean, smooth surface allows shingles to adhere properly.
Next, install a drip edge along the roof’s perimeter. This metal strip directs water away from the fascia, preventing leaks. Lay down an underlayment, overlapping seams by at least 2 inches. Secure it with roofing nails or staples. This layer acts as a moisture barrier, enhancing the roof’s durability. Taking time to prepare thoroughly reduces future issues.
Installing the Underlayment and Flashing
The underlayment and flashing create a waterproof foundation. Begin with the underlayment, starting at the roof’s lower edge. Roll it out horizontally, ensuring it lies flat without wrinkles. Overlap each row by 2–4 inches to prevent water infiltration. Secure it with nails or staples, spacing them evenly.
Flashing is installed around roof features like chimneys, vents, and valleys. Use corrosion-resistant metal flashing for durability. Apply roofing cement to seal joints and prevent leaks. For valleys, consider using a woven or closed-cut valley method for better water flow. Proper installation of these components ensures long-term protection against weather elements.
Laying the Asphalt Shingles
Begin shingle installation at the roof’s lowest edge. Place a starter strip of shingles, aligning them with the drip edge. This strip ensures proper adhesion and prevents wind uplift. Secure each shingle with 4–6 nails, placed just below the adhesive strip, following manufacturer guidelines.
Work upward in rows, staggering the shingles to avoid seam alignment. This pattern enhances water resistance. Cut shingles to fit around vents or edges using a utility knife. Maintain consistent overhangs, typically 0.5 inches, for proper water runoff. Regularly check alignment with a chalk line to keep rows straight. Patience during this step ensures a professional appearance.
Securing and Sealing the Shingles
Proper fastening is essential for shingle longevity. Use galvanized roofing nails to prevent rust. Place nails in the designated nailing zone, usually just below the adhesive strip. Avoid overdriving nails, as this can damage shingles. Each shingle should be firmly secured but not crushed.
Apply roofing cement under shingle tabs in high-wind areas for extra security. Seal around roof penetrations, such as vents or skylights, with a caulk gun. This step prevents leaks and enhances wind resistance. Check that all shingles lie flat and are properly sealed. Taking care during this process extends the roof’s lifespan.
Installing Ridge Caps and Ventilation
Ridge caps cover the roof’s peak, providing a finished look and weather protection. Cut standard shingles into smaller sections or use pre-made ridge cap shingles. Start at one end of the ridge, overlapping each piece by 5–6 inches. Secure with nails, covering them with the next shingle’s overlap.
Ventilation is crucial to prevent heat buildup and moisture accumulation. Install ridge vents or static vents according to your roof’s design. Ensure vents are unobstructed to promote airflow. Proper ventilation extends shingle life and improves energy efficiency. Consult local codes to meet ventilation requirements.
Post-Installation Maintenance Tips
Regular maintenance keeps your roof in top condition. Inspect it annually for damaged or missing shingles. Look for signs of wear, such as granule loss or curling edges. Clean gutters to prevent water backup, which can damage shingles. Trim overhanging branches to avoid debris buildup.
After storms, check for loose shingles or leaks. Address minor issues promptly to prevent costly repairs. If you’re unsure about maintenance tasks, hire a professional roofer for inspections. Consistent care ensures your roof remains functional and attractive for decades.
Common Mistakes to Avoid
Avoiding errors during installation saves time and money. One common mistake is improper nail placement. Nails driven too high or low weaken shingle adhesion. Always follow the manufacturer’s nailing pattern. Another error is neglecting ventilation, leading to heat damage or mold growth.
Don’t skip the underlayment or drip edge, as these protect against leaks. Avoid installing shingles in cold weather, as adhesive strips may not bond properly. Finally, ensure proper alignment to prevent uneven rows. Awareness of these pitfalls helps achieve a durable, professional-looking roof.
Conclusion
Installing asphalt shingles is a rewarding project that enhances your home’s value and protection. By following these steps—preparing the roof, installing underlayment, laying shingles, and maintaining the roof—you can achieve a professional result. Attention to detail, such as proper nailing and ventilation, ensures durability. Whether you’re a DIYer or hiring professionals, this guide equips you with the knowledge to succeed.
We hope this guide helps you navigate your roofing project with confidence. Have questions or tips to share? Leave a comment below or share this article with others tackling similar projects. Your feedback helps us improve!


