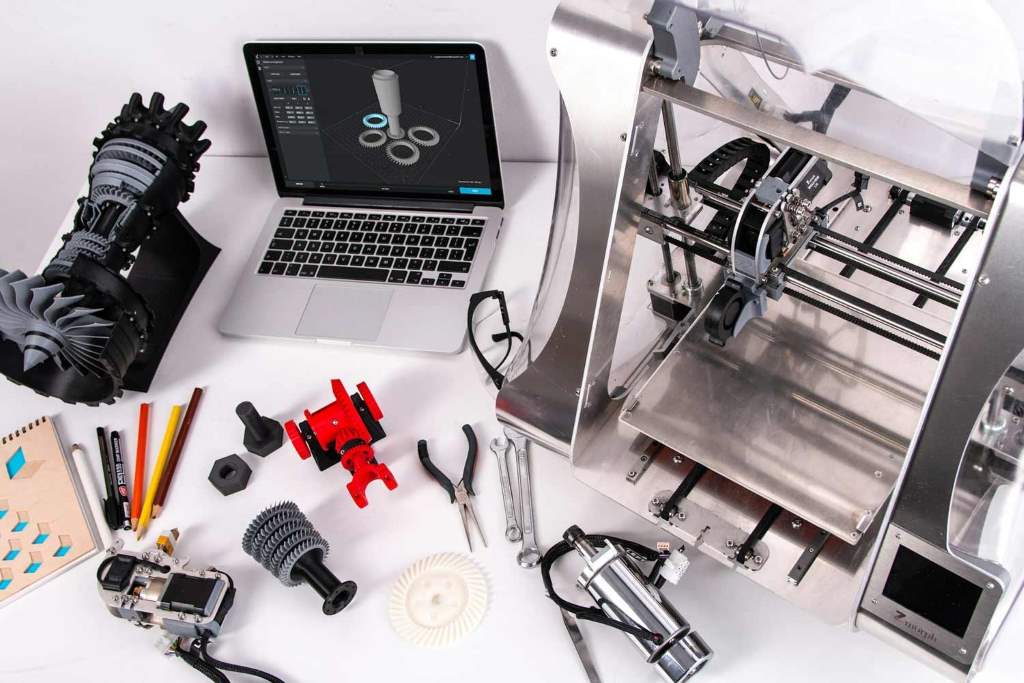
3D printing has changed how people design, prototype, and manufacture products. However, print quality and efficiency still depend heavily on the tools for 3D printing you use and how well you use them. According to research from the National Institute of Standards and Technology, improper calibration and tool misuse account for nearly 70 percent of failed prints. Another study by MIT highlights that optimized tool usage can improve print efficiency by up to 40 percent. That means mastering essential tools is not optional if you want consistent, high-quality results. This guide breaks down the most important tools and shows exactly how to use them to get better prints and faster workflows.
Understanding the Role of Tools in 3D Printing
Tools in 3D printing do more than assist. They directly affect accuracy, surface finish, and printing speed. Without proper tools, even a high-end printer cannot deliver good results.
First, tools help maintain precision. For example, calibration tools ensure that each layer aligns perfectly. Without this, prints may warp or fail.
Second, they improve efficiency. When you use the right cutting or cleaning tools, you reduce post-processing time significantly.
Finally, tools extend the life of your printer. Regular maintenance tools prevent wear and reduce the risk of breakdowns.
Therefore, investing time in learning these tools leads to better prints and fewer frustrations.
Essential Tools Every 3D Printing Setup Needs
Calibration Tools
Calibration tools are the foundation of quality printing. They ensure your printer operates at the correct settings.
Key calibration tools include:
- Feeler gauges for bed leveling
- Digital calipers for precise measurements
- Bed leveling sensors or probes
Using these tools regularly helps maintain consistent layer height and adhesion. For example, a properly leveled bed prevents first-layer issues, which are one of the most common causes of print failure.
Cutting and Removal Tools
Once a print is complete, you need tools to remove it safely and cleanly.
Important tools include:
- Spatulas or scrapers
- Flush cutters
- Precision knives
These tools help remove supports and excess material without damaging the model. Proper use reduces surface defects and improves final appearance.
Cleaning and Maintenance Tools
Clean equipment produces better prints. Dust, filament residue, and debris can affect print quality.
Common cleaning tools include:
- Brass brushes for nozzle cleaning
- Microfiber cloths
- Isopropyl alcohol for bed cleaning
Regular cleaning ensures smooth filament flow and better adhesion. As a result, prints become more consistent and reliable.
Measurement and Inspection Tools
Precision matters in 3D printing. Measurement tools help verify dimensions and detect errors early.
Useful tools include:
- Digital calipers
- Micrometers
- Magnifying lenses
By checking dimensions during and after printing, you can adjust settings before problems become serious.
How to Use Calibration Tools for Better Accuracy
Bed Leveling Techniques
Bed leveling is one of the most critical steps. A poorly leveled bed leads to uneven layers and weak adhesion.
Follow these steps:
- Place a feeler gauge between the nozzle and bed
- Adjust the bed until slight resistance is felt
- Repeat for all corners
Consistency across the bed ensures uniform first layers. As a result, prints stick better and look cleaner.
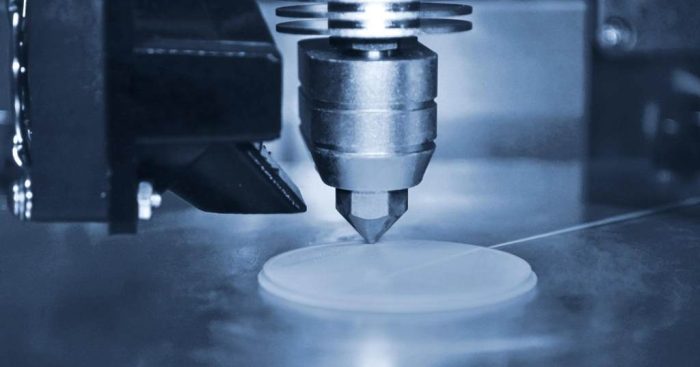
Extruder Calibration
Extruder calibration ensures the printer pushes the correct amount of filament.
Steps include:
- Mark a section of filament
- Command the printer to extrude a set length
- Measure the actual movement
If the measurement is off, adjust the extrusion multiplier. This improves dimensional accuracy and reduces material waste.
Temperature Optimization
Temperature affects layer bonding and surface finish. Using a thermometer or temperature tower helps find the optimal setting.
Higher temperatures improve bonding but may reduce detail. Lower temperatures enhance detail but may weaken the structure. Therefore, balancing temperature is essential.
Using Post Processing Tools to Improve Print Quality
Removing Supports Cleanly
Support removal requires precision. Using flush cutters allows you to remove supports without damaging the model.
Always cut close to the base of the support. Then use a knife to smooth rough edges. This approach improves the final look of the print.
Sanding and Smoothing Techniques
Sanding enhances surface quality. Start with coarse sandpaper and move to finer grits.
Steps:
- Begin with 200 grit for rough areas
- Move to 400 or 600 grit for smoothing
- Finish with polishing for a clean surface
Consistent sanding creates a professional finish and removes visible layer lines.
Chemical Smoothing
Certain materials allow chemical smoothing. For example, ABS prints can be smoothed using vapor treatment.
This process melts the outer layer slightly, creating a glossy finish. However, always use proper ventilation and safety precautions.
Improving Efficiency with the Right Tools
Workflow Optimization
Efficiency starts with organization. Keeping tools within reach reduces downtime.
Tips for better workflow:
- Arrange tools near the printer
- Label storage containers
- Maintain a clean workspace
This setup allows you to complete tasks faster and with fewer errors.
Using Multi Tools and Kits
Multi tools combine several functions into one device. They save space and reduce the need to switch tools frequently.
Examples include:
- Rotary tools for cutting and polishing
- Multi tip soldering tools for repairs
These tools improve efficiency by handling multiple tasks quickly.
Automating with Smart Tools
Modern 3D printing includes smart tools like auto bed leveling systems and filament sensors.
Benefits include:
- Reduced manual adjustments
- Fewer print failures
- Better consistency
Automation allows you to focus on design rather than constant monitoring.
Common Mistakes to Avoid When Using 3D Printing Tools
Even with the right tools, mistakes can reduce quality.
Avoid these common errors:
- Skipping calibration checks
- Using dull cutting tools
- Ignoring cleaning routines
- Applying too much force during post-processing
Each mistake can lead to defects or damage. Therefore, careful and consistent tool use is essential.
How Proper Tool Use Improves Results
Consider a small design studio that struggled with failed prints and rough finishes. After implementing proper tool usage, they saw major improvements.
Changes included:
- Regular bed leveling checks
- Using precision cutters for support removal
- Cleaning nozzles after each print
Within a month, their failure rate dropped by 50 percent. Print quality improved significantly, and production time decreased.
This example shows how tools directly impact results when used correctly.
Conclusion
Using essential tools for 3D printing is not just about convenience. It directly improves print quality, accuracy, and efficiency. Calibration tools ensure precision. Cutting and cleaning tools enhance finish. Smart tools reduce manual work and increase consistency. When you use these tools properly, you reduce errors and save time. Start by organizing your workspace and mastering basic tools. Then gradually add advanced tools to your setup. Apply these techniques today to produce cleaner, stronger, and more reliable 3D prints.
FAQs
What tools are most important for beginners in 3D printing?
Beginners should focus on calibration tools, cutting tools, and cleaning supplies. These tools handle the most common issues like bed leveling, support removal, and maintenance.
How often should I calibrate my 3D printer?
You should calibrate your printer before major prints and after any hardware changes. Regular checks ensure consistent quality and reduce failure rates.
Can tools really improve print quality significantly?
Yes, proper tool usage can improve print quality by ensuring precision, clean finishes, and fewer defects. Studies show it can reduce failure rates substantially.
What is the best way to clean a 3D printer nozzle?
Use a brass brush or cleaning filament. Regular cleaning prevents clogs and ensures smooth extrusion.
Are automated tools worth using in 3D printing?
Automated tools like auto bed leveling systems improve consistency and reduce manual effort. They are especially useful for frequent printing.