Electricity powers nearly everything around us, yet many people feel unsure when it comes to measuring it safely. A multimeter solves that problem by giving clear readings for voltage, current, and resistance. According to the U.S. Energy Information Administration, the average American household uses about 10,500 kWh of electricity per year. Meanwhile, the National Institute of Standards and Technology highlights that accurate electrical measurement is critical for safety and efficiency in both homes and industries. This guide explains how to use a multimeter step by step, so you can test circuits with confidence and precision.
What Is a Multimeter and Why It Matters
A multimeter is a tool that measures electrical values like voltage, current, and resistance. It combines several functions into one compact device. Because of this, it becomes essential for electricians, engineers, and even DIY users.

There are two main types. Digital multimeters show readings on a screen. Analog models use a needle and scale. Most users prefer digital versions since they are easier to read and more accurate.
Using a multimeter helps you detect faults early. For example, it can identify a dead battery, a broken wire, or an overloaded circuit. As a result, you can prevent costly damage and improve safety.
Understanding the Basic Components of a Multimeter
Before you start measuring, you need to know the key parts of the device. Each component plays a specific role in getting accurate results.
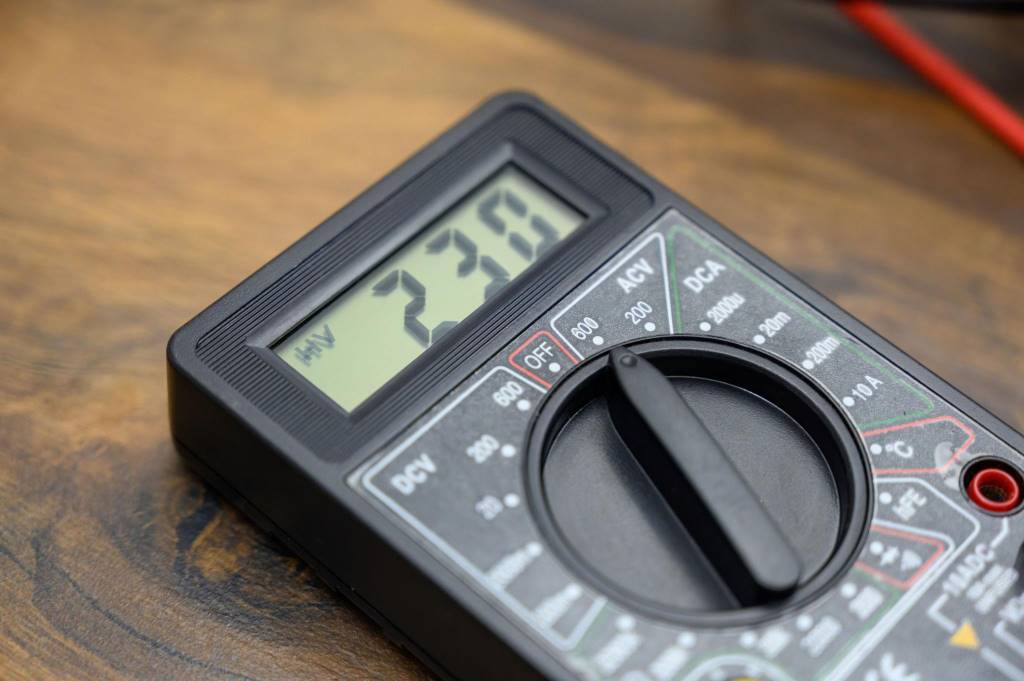
Display Screen
The screen shows the measured values. Digital models provide clear numbers, which reduces the chance of misreading.
Selector Dial
The dial lets you choose what you want to measure. You can switch between voltage, current, and resistance settings.
Probes
Probes are the test leads. One is usually red, and the other is black. You use them to connect the multimeter to the circuit.
Ports
Most multimeters have multiple ports. The black probe goes into the common port, while the red probe connects to the correct port depending on the measurement type.
Understanding these parts ensures you avoid mistakes when testing electrical systems.
Safety Tips Before Using a Multimeter
Safety should always come first. Electricity can be dangerous if handled carelessly. Therefore, follow these guidelines before taking any measurement.
- Always check the multimeter for damage before use
- Ensure your hands are dry to prevent shocks
- Start with the highest range setting to avoid overload
- Never touch the metal part of the probes during testing
- Turn off power when measuring resistance
In addition, wearing insulated gloves can add an extra layer of protection. These precautions help you work safely and confidently.
How to Measure Voltage Accurately
Voltage measures the electrical potential difference between two points. It tells you how much force pushes electricity through a circuit.
Steps to Measure Voltage
- Set the multimeter to voltage mode
- Choose AC or DC depending on the source
- Insert the probes into the correct ports
- Touch the probes to the two points in the circuit
- Read the value on the display
Practical Example
Suppose you want to test a household outlet. Set the multimeter to AC voltage. Then place one probe in each slot of the outlet. The reading should typically be around 120 volts in the United States.
Tips for Better Accuracy
- Ensure firm contact between probes and test points
- Avoid moving the probes while taking a reading
- Use the correct range setting for precise results
Accurate voltage measurement helps you confirm whether a device or circuit is working properly.
How to Measure Current Step by Step
Current measures the flow of electric charge through a circuit. Unlike voltage, you must measure it differently.
Steps to Measure Current
- Turn off the circuit power
- Set the multimeter to current mode
- Break the circuit so the current can flow through the meter
- Connect the probes in series with the circuit
- Turn the power back on and read the value
Why Series Connection Matters
You must connect the multimeter in series because current flows through it. If you connect it incorrectly, you may damage the device or get inaccurate readings.
Example Scenario
If you want to measure the current of a small device, disconnect one wire and place the multimeter between the open ends. This setup allows the current to pass through the meter.
Accuracy Tips
- Start with a higher current range and adjust if needed
- Double check connections before powering the circuit
- Avoid exceeding the meter’s maximum current limit
How to Measure Resistance Correctly
Resistance shows how much a material opposes the flow of electricity. It is essential for checking components like resistors and wires.
Steps to Measure Resistance
- Turn off power to the circuit
- Set the multimeter to resistance mode
- Place the probes across the component
- Read the resistance value on the display
Important Considerations
Always remove power before measuring resistance. Otherwise, you may damage the multimeter or get false readings.
Example Use Case
If a wire is damaged, its resistance will be higher than normal. By measuring resistance, you can quickly identify faulty components.
Tips for Accuracy
- Ensure the component is isolated from the circuit
- Clean probe tips for better contact
- Wait for the reading to stabilize before noting the value
Common Mistakes to Avoid
Even experienced users can make errors. However, knowing common mistakes helps you avoid them.
- Using the wrong setting for the measurement
- Connecting probes to incorrect ports
- Measuring resistance on a live circuit
- Ignoring the multimeter’s range limits
- Holding probes loosely during testing
Avoiding these mistakes improves both safety and accuracy.
Practical Applications of a Multimeter
A multimeter is useful in many real world situations. It is not just for professionals.
Home Use
You can check batteries, test outlets, and troubleshoot appliances. This helps you maintain your home efficiently.
Automotive Use
Car owners use multimeters to test batteries and electrical systems. It helps identify issues quickly.
Electronics Repair
Technicians rely on multimeters to diagnose circuit problems. It allows them to fix devices accurately.
DIY Projects
Hobbyists use multimeters for building and testing circuits. It ensures projects work as intended.
These applications show how versatile and valuable a multimeter can be.
Tips to Improve Measurement Accuracy
Accuracy depends on both technique and equipment. Therefore, follow these best practices.
- Calibrate your multimeter regularly
- Use high quality probes
- Avoid measuring in extreme temperatures
- Keep the device clean and well maintained
- Double check your settings before each test
In addition, taking your time and staying focused reduces errors.
Conclusion
Learning how to use a multimeter to measure voltage, current, and resistance accurately is a valuable skill. It helps you understand electrical systems and troubleshoot problems effectively. By following the correct steps and safety guidelines, you can take precise measurements with confidence. Start practicing with simple tests, and gradually move to more complex tasks. The more you use a multimeter, the more comfortable and accurate you will become.
FAQs
What is the easiest way to use a multimeter for beginners?
Start with voltage measurement. It is the simplest and safest method. Follow the instructions and practice on basic devices like batteries.
Can a multimeter detect a faulty wire?
Yes, you can measure resistance or use continuity mode. A damaged wire will show higher resistance or no continuity.
Is it safe to use a multimeter at home?
Yes, it is safe if you follow proper safety guidelines. Always use the correct settings and avoid touching live parts.
Why is my multimeter showing zero reading?
This may happen if there is no current or voltage. It can also mean incorrect settings or poor probe contact.
How often should I calibrate my multimeter?
Calibration depends on usage. However, regular users should calibrate it at least once a year for accurate results.


