Don’t Let a Simple Part Slow Down Your Projects
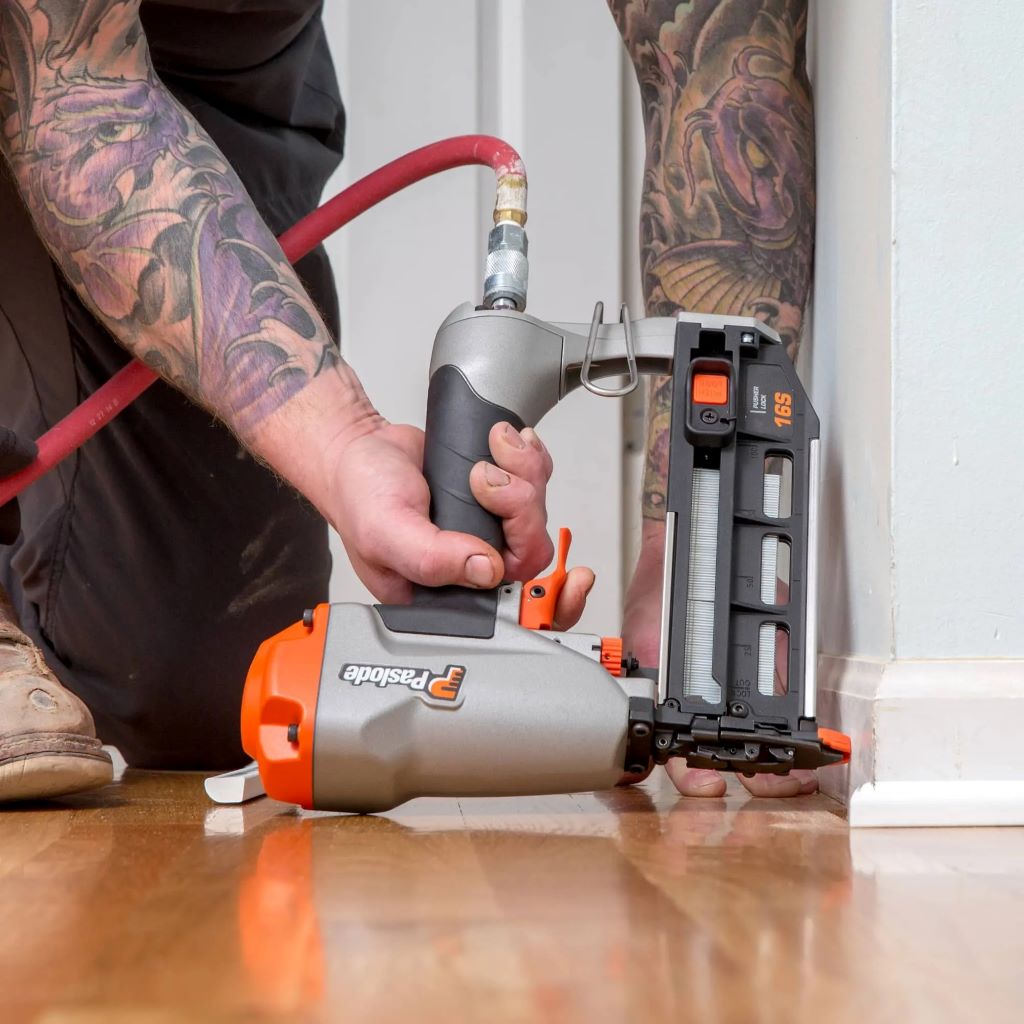
A nail gun is one of the most essential tools in any DIYer or contractor’s arsenal—and when it comes to affordable performance, Central Pneumatic nail guns top the list. But even the best tools require occasional upkeep, and knowing your Central Pneumatic nail gun parts is key to keeping your gear running like new.
Whether you’re dealing with jamming issues, air leaks, or inconsistent firing, the solution often lies in replacing a worn-out or malfunctioning part. This guide will walk you through everything you need to know about Central Pneumatic nailer parts—from identifying what each part does to finding compatible replacements and performing basic maintenance.
Let’s get into the nuts and bolts of keeping your tool in peak shape.
Why Understanding Your Central Pneumatic Nail Gun Parts Matters
Your nail gun’s performance depends on the harmony of multiple internal and external components. If one part fails, it can:
- Interrupt your workflow
- Cause safety hazards
- Lead to expensive replacements
Having a clear understanding of each part helps with:
- Fast troubleshooting
- Cheaper repairs
- Better tool longevity
Many users throw away their tools thinking they’re broken, when a simple O-ring kit or trigger valve could solve the problem.
Common Central Pneumatic Nail Gun Parts (With Functions)
Below are some of the most commonly replaced and serviced parts in Central Pneumatic nailers, along with their functions:
-
Trigger Valve Assembly
Function: Controls the release of compressed air to fire nails.
Symptoms of failure: Misfires, stuck trigger, or no firing at all.
Replacement tip: Ensure compatibility by matching the model number.
-
O-Ring Kits
Function: Seal internal chambers to maintain air pressure.
Symptoms of failure: Air leakage, weak shots, or hissing noise.
Maintenance tip: Lubricate O-rings regularly with pneumatic tool oil.
-
Piston Stop or Driver Blade
Function: Drives the nail into the surface.
Symptoms of failure: Nails not penetrating, double firing.
DIY Tip: Inspect for wear or chips and replace immediately.
-
Bumper
Function: Absorbs shock at the bottom of the cylinder to prevent tool damage.
Symptoms of failure: Loud banging noise or piston damage.
-
Magazine Assembly
Function: Holds and feeds nails into firing position.
Symptoms of failure: Nail jamming or feed issues.
-
Air Inlet and Coupler
Function: Connects the nail gun to the air compressor.
Symptoms of failure: Tool not receiving air or inconsistent pressure.
-
Safety Mechanism / Contact Tip
Function: Prevents accidental firing unless the tip is pressed against the surface.
Symptoms of failure: Gun fires without contact or won’t fire at all.
-
Exhaust Deflector
Function: Directs air away from user and tool internals.
Symptoms of failure: Increased internal dust and debris.
Where to Find Central Pneumatic Nail Gun Replacement Parts
Here are the best sources to find genuine and compatible parts:
- Harbor Freight Tools (Manufacturer)
Harbor Freight is the official retailer of Central Pneumatic. Check their tool replacement parts section or customer service department for original components.
- Third-Party Parts Suppliers
Websites like eReplacementParts.com, Amazon, and ToolPartsPro often carry affordable third-party parts compatible with Central Pneumatic models.
- Local Hardware Stores
Some local stores may carry universal O-rings, valves, or air couplers that match your tool.
- eBay or Online Marketplaces
Great for finding hard-to-locate parts, especially for discontinued models. Be sure to check compatibility and return policy.

How to Identify the Right Part for Your Central Pneumatic Nailer
To ensure you’re purchasing the correct part:
- Find your model number: Usually located on the side of the gun or inside the magazine cover.
- Check the manual: Look for the exploded diagram and part list.
- Search by model + part: e.g., “Central Pneumatic 40411 trigger valve replacement.”
- Cross-reference with diagrams online to avoid ordering incorrect parts.
Maintenance Tips to Extend the Life of Your Nail Gun
Proper maintenance prevents 80% of nail gun issues. Here’s how to keep yours in top condition:
- Regular Lubrication
Use air tool oil in the air inlet before each use. This keeps O-rings and internal parts from drying out.
- Clean the Magazine
Dust, wood chips, and old nails can jam the feed. Clean it weekly with compressed air.
- Inspect for Wear
Check the trigger, safety tip, and driver blade after every heavy project.
- Tighten Screws and Bolts
Vibrations can loosen components over time. A quick check ensures everything stays secure.
- Replace Worn O-Rings Proactively
Don’t wait for them to tear—replace them if they look worn or dried out.
Common Problems and How to Fix Them
Here are some frequent issues and quick fixes:
| Problem | Likely Cause | Solution |
| Nail gun not firing | Trigger valve or O-rings | Replace valve or O-ring kit |
| Air leaking from trigger | Worn seals | Install new O-rings |
| Nails jam frequently | Dirty magazine or bent nails | Clean and inspect magazine |
| Weak firing force | Air leak or piston wear | Inspect and replace worn parts |
| Gun won’t connect to air | Damaged coupler or inlet | Replace air fitting |
Safety Tips When Replacing Nail Gun Parts
- Disconnect from compressor before starting any repairs.
- Wear safety glasses to protect against flying parts or springs.
- Discharge any stored air by firing the gun into a soft surface (without nails).
- Use the correct tools like Allen keys, screwdrivers, and soft mallets.
- Double-check the orientation of internal parts during reassembly.
Popular Central Pneumatic Nail Gun Models and Their Parts
If you’re not sure what model you have, here are some commonly used models and top replacement parts:
| Model | Common Parts | Notes |
| 40411 | Trigger Valve, O-rings, Driver Blade | 18-gauge brad nailer |
| 97526 | Magazine Assembly, Piston Stop | Framing nailer |
| 68019 | Air Seal Kit, Safety Mechanism | Finish nailer |
| 68068 | Exhaust Deflector, Bumper | 2-in-1 brad/finish nailer |
FAQs About Central Pneumatic Nail Gun Parts
Q: Can I use non-branded parts in my Central Pneumatic tool?
Yes, but ensure compatibility. Non-OEM parts may save money but could affect performance.
Q: How often should I replace O-rings?
Every 6–12 months depending on usage. Check for cracks or deformation.
Q: Where can I get a parts diagram for my nailer?
The Harbor Freight website or user manual usually includes it. You can also find PDFs online.
Conclusion: Keep Your Tool Working Like New
Replacing a $5 O-ring or a $15 valve can save you from spending $100+ on a new tool. With a basic understanding of Central Pneumatic nail gun parts, you’ll be empowered to handle small repairs, improve tool performance, and extend the life of your nailer for years to come.
Don’t wait for your nail gun to fail during an important job. Start inspecting and replacing parts today.
✅ Call to Action
👉 Need help finding the right part? Bookmark this guide, and share it with fellow DIYers or pros.
🔧 Looking for replacement parts? Visit Harbor Freight or search your model number on reputable parts sites like eReplacementParts.com.
🛠️ Subscribe to our newsletter for more how-to guides, maintenance tips, and tool repair advice straight to your inbox.
Read More:
Finding the Sweet Spot: The Definitive Guide to Nail Gun Air Pressure


