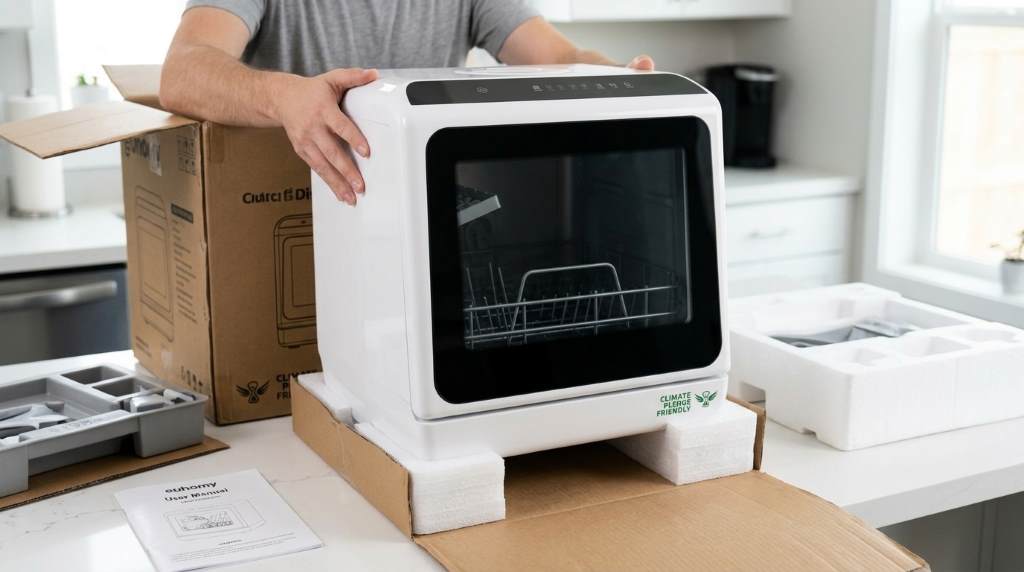
To connect a Euhomy countertop dishwasher, attach the inlet hose to a compatible faucet adapter, secure the drain hose, connect the power cord, and run a test cycle. Following the correct setup process helps prevent leaks, improves cleaning performance, and protects the appliance.
Installing a countertop dishwasher takes only a few minutes when you follow the correct steps. In fact, portable dishwashers continue growing in popularity because they require no permanent plumbing, while many households prefer compact appliances for smaller kitchens. If you own the Euhomy countertop dishwasher portable, learning the proper connection method ensures safe operation, reliable water flow, and consistent washing results every time.
Why Proper Connection Matters
A correct installation prevents water leaks and protects your kitchen surfaces. It also allows the dishwasher to maintain the proper water pressure during every wash cycle.
Improper connections often cause drainage problems or incomplete cleaning. Therefore, spending a few extra minutes during setup saves future repair costs and frustration.
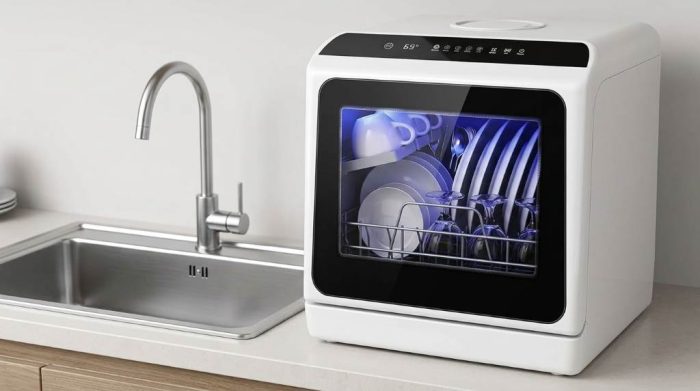
Items You Need Before Installation
Gather every required part before connecting the dishwasher. Preparation makes the installation faster and reduces unnecessary interruptions.
- Euhomy countertop dishwasher
- Water inlet hose
- Drain hose
- Compatible faucet adapter
- Power outlet
- Soft towel for cleanup
Check Your Kitchen Faucet
Most countertop dishwashers connect directly to a standard kitchen faucet. However, some modern faucets require a different adapter before installation.
Remove the existing faucet aerator carefully before attaching the supplied adapter. Then tighten the adapter firmly without using excessive force.
How to Connect Euhomy Countertop Dishwasher Step by Step
Step 1: Position the Dishwasher
Place the dishwasher on a flat and stable countertop near your sink. Leave enough space behind the appliance for both hoses and ventilation.
Avoid placing the dishwasher near heat sources or unstable surfaces. This position improves safety and helps the appliance operate smoothly.
Step 2: Connect the Water Inlet Hose
Attach one end of the inlet hose to the dishwasher water inlet. Next, connect the opposite end to the installed faucet adapter securely.
Hand tighten every connection until snug. Afterward, avoid using excessive force because overtightening may damage the fittings.
Step 3: Attach the Drain Hose
Insert the drain hose into the sink during every wash cycle. Keep the hose securely positioned so wastewater drains without spilling.
Never bend or sharply twist the drain hose during installation. A straight path improves drainage and reduces the chance of backups.
Step 4: Connect the Power Supply
Plug the dishwasher directly into a grounded electrical outlet. Avoid extension cords because they may reduce electrical safety.
Keep the power cord away from standing water and hot surfaces. Safe electrical practices protect both your appliance and your home.
Step 5: Turn On the Water
Open the faucet slowly after completing every connection. Check each fitting carefully for leaks before starting a wash cycle.
If water appears around any connection, tighten the fitting slightly. Then inspect again until every joint remains completely dry.
Step 6: Run a Test Cycle
Select a short wash cycle without loading dishes initially. This test confirms proper water intake, drainage, and overall performance.
Watch the appliance throughout the complete cycle. Any unusual sounds or leaks should be corrected immediately before regular use.
Tips for Better Performance
Correct installation alone does not guarantee excellent cleaning results. Good operating habits also improve dishwasher performance significantly.
- Scrape large food particles before loading dishes.
- Do not overload the racks.
- Use detergent designed for dishwashers.
- Clean the filter regularly.
- Check hose connections every few weeks.
- Allow dishes to cool before unloading.
Common Connection Problems and Solutions
Water Does Not Enter
First, confirm the faucet remains fully open during operation. Also inspect the inlet hose for bends or blockages.
Next, verify every connection remains secure. Loose fittings sometimes restrict water flow into the dishwasher.
Water Leaks Around the Faucet
Most leaks result from a loose faucet adapter or damaged washer. Tighten the connection gently and replace worn seals if necessary.
Always inspect the adapter before every installation. Small cracks often become larger leaks during operation.
Drain Water Stays Inside
Ensure the drain hose reaches the sink without twisting sharply. Proper positioning allows wastewater to flow freely.
Food particles may also block the filter or drain hose. Cleaning both components usually restores normal drainage.
Dishwasher Does Not Start
Check that the power plug remains fully inserted into the outlet. Then confirm the outlet provides electricity correctly.
Also make sure the door closes completely before pressing the start button. Most units will not operate with an open door.
Maintenance After Installation
Regular maintenance keeps the dishwasher working efficiently for years. Fortunately, basic cleaning requires very little time.
Wipe the exterior with a soft cloth after each use. This habit prevents moisture stains and keeps the appliance looking clean.
Clean the interior filter according to the manufacturer’s instructions. A clean filter improves washing performance and drainage.
Inspect hoses periodically for wear, cracks, or loose connections. Replacing damaged parts early helps prevent unexpected leaks.
Safety Tips During Connection
Always disconnect power before replacing hoses or adapters. This simple habit reduces the risk of electrical accidents.
Keep children away while connecting the dishwasher. Additionally, never operate the appliance with damaged hoses or power cords.
Follow the installation instructions supplied with your dishwasher model. Manufacturer guidance helps maintain reliable operation and product safety.
Conclusion
Connecting a Euhomy countertop dishwasher becomes simple when you follow each installation step carefully. Proper hose placement, secure fittings, and a successful test cycle create dependable performance from the beginning.
Take a few extra minutes to inspect every connection before daily use. Following these practical steps helps your dishwasher deliver reliable cleaning while reducing future maintenance problems.
Frequently Asked Questions
Can I connect a Euhomy countertop dishwasher without permanent plumbing?
Yes, most models connect directly to a compatible kitchen faucet using the supplied adapter.
Do I need special tools for installation?
No, most installations require only the included hoses and faucet adapter.
Can I leave the dishwasher connected all the time?
Yes, if your kitchen setup allows safe and secure hose connections.
Why is my dishwasher leaking after installation?
Loose fittings or worn washers usually cause leaks and should be checked immediately.
How long does installation usually take?
Most users complete the entire connection process within 10 to 20 minutes.