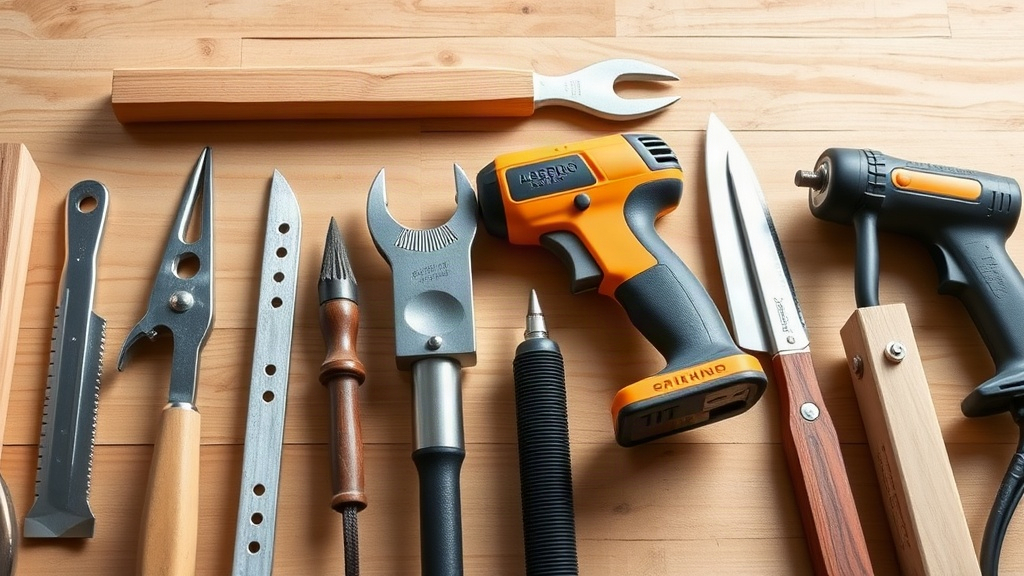
A few tools every diyer needs for basic carpentry projects can turn a weekend of frustration into a finished shelf, a repaired step, or a solid frame. Many beginners buy too much at once or borrow the wrong thing, then struggle with crooked cuts and loose joints. The fix is a small, honest kit that covers measuring, cutting, driving, and clamping, plus a realistic sense of where to spend. Planning a New House Project around your first woodworking tasks makes the tool list easier to set, because you know what you actually intend to build.
Quick answer: Start with a tape measure, a combination square, a circular saw, a drill-driver, a hammer, and a set of clamps. Add a level, safety glasses, and a stud finder as your projects grow. Buy mid-range versions of these core tools rather than cheap ones you will replace quickly.
What is tools every diyer needs for basic?
The phrase means the small set of hand and power tools that covers most beginner woodwork: measuring, marking, crosscutting, drilling, fastening, and holding pieces steady. It is not a full workshop. A competent starter kit fits in one toolbox and a couple of drawers in a garage or closet.
Think in categories rather than brands. Each category solves a specific problem on a project.
- Measuring and marking: a tape measure and a combination square let you transfer dimensions accurately.
- Cutting: a circular saw handles sheet goods and lumber; a handsaw works for small trim cuts.
- Driving and fastening: a cordless drill-driver covers pilot holes, screws, and small hardware.
- Striking: a 16-ounce hammer sets nails and taps joints together.
- Holding: bar clamps and spring clamps keep pieces aligned while glue or screws set.
- Checking: a spirit level confirms things are straight and plumb.
You can measure, cut, drill, and assemble a simple shelf or box with only the first five categories. Each one earns its place because the others cannot substitute for it. A drill cannot replace a saw, and a saw cannot hold a joint closed while glue dries.
Power tools save time, but hand tools often do the fine work. A sharp hand saw trims a piece of casing more precisely than a circular saw in tight spots. Many hobbyists end up using both.
Spend most on the tools you reach for every session, such as the drill and tape measure. Save on tools you use a few times a year, like a long level or a specialty clamp.
A practical test for any tool is whether it helps you make a straight, square, and tight-fitting result. If it does, keep it. If it gathers dust, it belongs on a wish list, not in the starter box. This definition keeps your spending focused and your workspace usable.
Why tools every diyer needs for basic matters
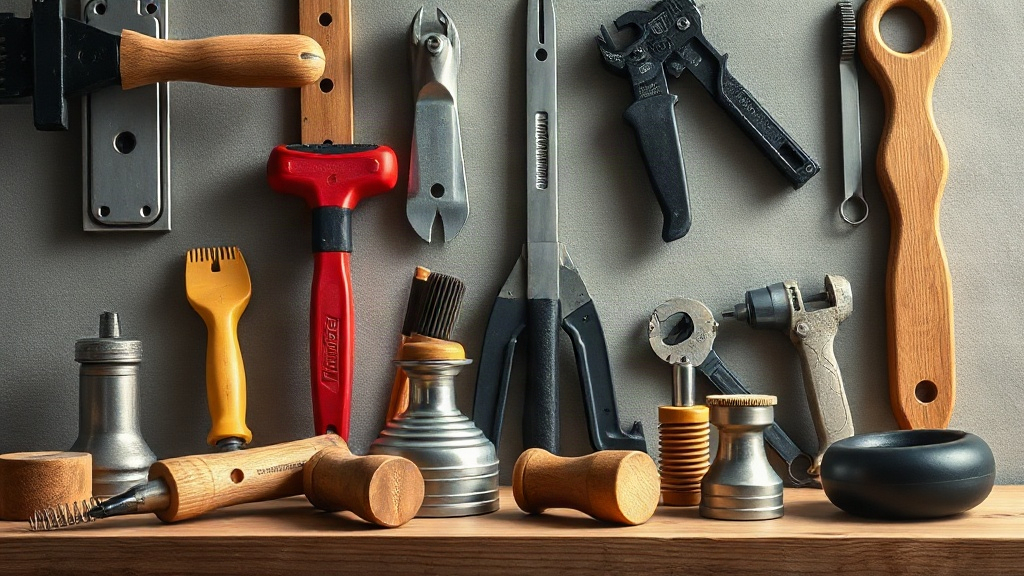
Good results come from geometry and accuracy, and the right tools make both achievable. A square frame depends on a reliable square, a level, and a sharp saw. Skimp on those and the errors compound, turning a simple project into a struggle.
Safety is a second reason. Basic carpentry involves sharp edges, spinning blades, and flying dust. Eye protection and a stable work surface belong on the list before any cutting starts. The correct tool for a job is also the safer one; forcing the wrong tool invites slips and kickback.
Cost control matters too. A small, well-chosen kit often costs less than a pile of bargain tools that fail and get replaced. Buying one solid drill instead of two cheap ones saves money over a few years. Clamps and a square last decades with basic care.
Confidence is the quiet benefit. When your saw cuts where you want and your square reads true, you finish a project and want to build the next one. That rhythm is how practical skill grows. It also keeps small jobs, like hanging a shelf or fixing a wobbly rail, from turning into paid repairs.
A modest kit supports a surprising number of tasks around a home. You can trim a sticking cabinet door, patch a stair tread, or build planter boxes without borrowing anything. When a task grows into something bigger, the basics still carry you, and you can add one tool at a time as the work demands.
Best practices
Buy in a sensible order
Start with measuring and driving tools, then add cutting. A tape measure, square, and drill get you through hardware fixes and prep work first. The circular saw and clamps come next, once you have a first cutting project planned.
Choose one reliable version of each core tool
A cordless drill with two batteries and a quality tape measure last years. Mid-range tools typically offer better switches, blades, and chuck runout than the cheapest options. You rarely need the top tier for home projects, but the bargain tier often wastes its price in failed work.
Match the blade to the material and the job
A general-purpose 24-tooth circular saw blade rips framing lumber, while a finer 40-tooth blade leaves cleaner edges on plywood and trim. A sharp blade cuts faster and safer than a dull one that forces you to push. Change blades when you notice burning or ragged edges.
Store and care for tools deliberately
Moisture, drops, and loose bits ruin tools faster than use. Keep batteries off concrete floors in cold weather and wipe metal surfaces after outdoor use. A pegboard or a labeled bin makes the tape measure and square easy to grab, so your workflow stays smooth.
Practice on scrap first
Test a new saw or drill on offcuts before the real piece. Mark a line, make the cut, and check it with the square. That single habit catches misaligned fences and wrong-depth settings before they cost you material.
Clamp your work and guide the saw with light, steady pressure. Forcing a cutting tool increases binding and kickback risk.
Take on a focused project to build skills
A simple box or a basic frame teaches the core motions of measure, cut, drill, and clamp. As skills grow, tasks like learning how to install a door frame introduce levels, shims, and clearance checks. Each project adds a technique without needing a new tool every time.
Comparison: cheap saw vs. mid-range saw
| Feature | Bargain saw | Mid-range saw |
|---|---|---|
| Blade quality | Thin, dulls fast | Sturdy, replaceable |
| Base plate | Thin, bends easily | Stamped metal, stays flat |
| Cutting accuracy | Wanders on long cuts | Straighter with a guide |
| Lifespan | Short with steady use | Years with basic care |
The bargain saw can handle one or two weekend cuts. The mid-range saw holds its adjustment longer, which matters once you rely on straight edges for joints and trim.
Common mistakes to avoid
Buying the whole catalog at once
New builders often buy every gadget before the first project. Many of those tools stay in the box. Start with the core six and add on demand. A wish list helps you resist impulse buys and keeps spending tied to real work.
Skipping the square and the level
The tape measure gets all the attention, but the square and the level keep frames and shelves true. Without them, cuts drift and assemblies lean. Those errors take longer to fix than the right tool would have cost to buy.
Choosing a saw without a guide
A circular saw used freehand will wander on long cuts. A straight edge clamped in place solves this for a few dollars. It also improves safety, because the saw travels in a controlled path instead of twisting.
Using the wrong fastener for the material
Wood screws, drywall screws, and masonry anchors are not interchangeable. Driving a drywall screw into hardwood often strips the head or splits the wood. Read the material specs and pick fasteners that match what you are joining.
Leaving safety out of the kit
Eye protection, ear plugs, and a dust mask cost little and prevent real harm. Store them with the tools so they travel with the job. A tidy, protected workspace reduces slips and keeps you focused.
Overworking the drill
A drill-driver is not a hammer drill, a mixing paddle, or a saw. Pushing it beyond its purpose overheats the motor and voids warranties. For heavy masonry or big holes, rent or borrow the right machine.
Avoid leaving batteries in a hot car or direct sun. High heat shortens battery life and, in rare cases, can cause damage. Store them cool and dry.
A last mistake is skipping the cleanup. Sawdust left on a work surface hides marks and causes slips. A quick brush-down between steps keeps your cuts accurate and yourself safe.
FAQ
How much should I spend to get started?
A basic kit covering measuring, cutting, drilling, and clamping usually costs a few hundred dollars. You can spread the cost across two or three purchases and add tools as projects demand. Focusing on mid-range versions of the most-used items gives better value than buying everything at once.
Can I rent tools instead of buying them?
Yes, for tasks you do rarely. A miter saw, nail gun, or specialty level can be rented for a single weekend. Rent when the tool is expensive and the job is short; buy when you expect to use it across several projects.
Do I need a miter saw for basic projects?
Not at first. A circular saw with a clamped straight edge handles most crosscuts and rips. A miter saw makes repeated angled cuts faster, so it earns a place once you build trim or framing regularly.
Which hand tools matter most?
A tape measure, combination square, and hammer top the list. Add a utility knife and a set of clamps. These cover marking, checking square, setting nails, and holding parts while glue or screws set.
How do I keep tools in good shape?
Wipe them after use, store them dry, and keep blades sharp. Change saw blades when cuts start burning. Check drill bits for dullness and replace them. Regular care extends lifespan and keeps results accurate.
Conclusion
The tools every diyer needs for basic carpentry projects form a lean, practical kit: measuring and marking tools, a cutting saw, a drill-driver, a hammer, clamps, and a level. Add safety gear and care for each tool, and you can build, repair, and check most home projects without frustration. Buy a reliable version of what you use most, then expand only as real projects demand. Pick one small project this weekend, gather the core six, and let a completed result guide your next purchase.