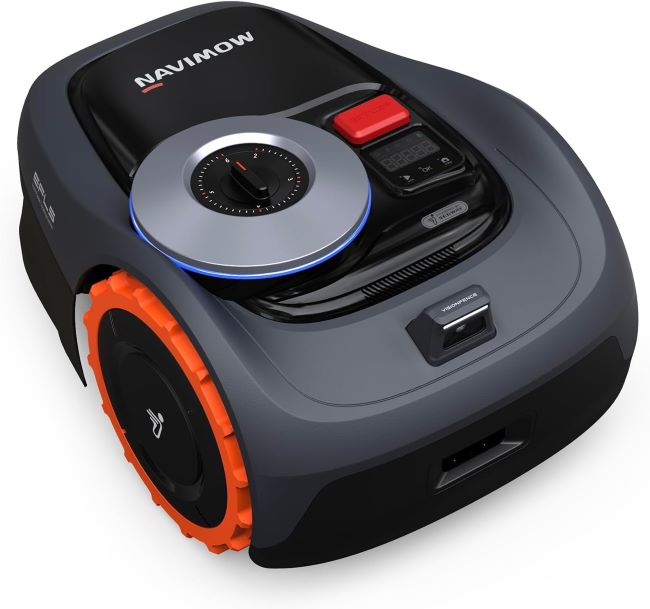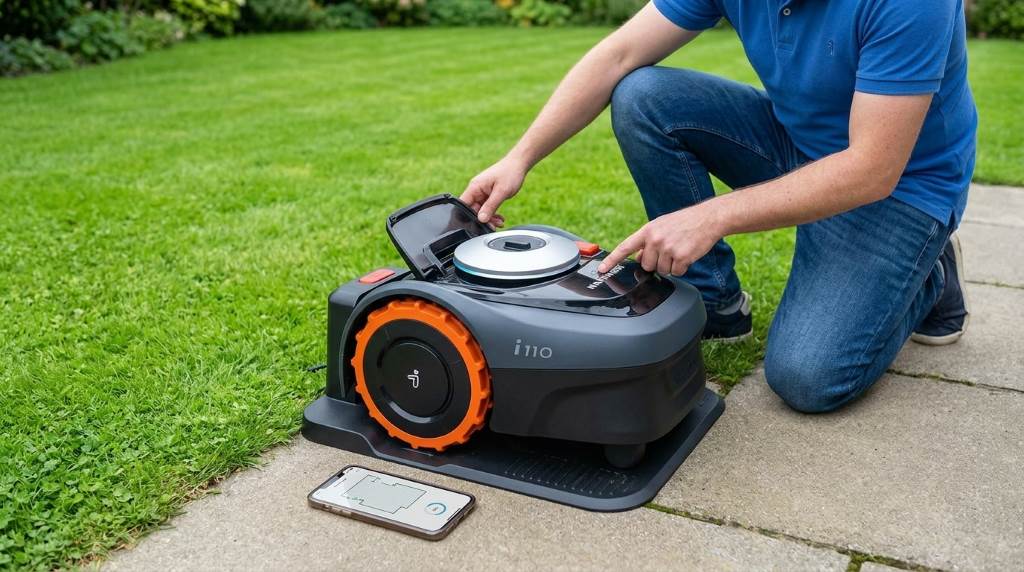
Running the Segway Navimow i110N Robotic Mower is simple once you complete the initial setup, map your lawn, and schedule mowing through the app. After installation, the mower automatically follows the virtual boundary, returns for charging when needed, and resumes mowing without manual effort.
Robot lawn mower adoption continues to grow because homeowners want easier lawn care with less manual work. Industry reports estimate the global robotic lawn mower market continues expanding with double digit annual growth, while smart home technology adoption also increases every year. If you are considering the Segway Navimow i110N robotic lawn mower, learning the correct operating process helps achieve cleaner cutting results. This guide explains every important step in a simple and practical way.
What You Need Before Starting
Before powering on the mower, inspect your lawn for large branches, toys, rocks, and garden tools. Clean surroundings help the mower travel safely and efficiently.
Next, fully charge the battery before the first mowing session. A complete charge allows the mower to build accurate maps and finish longer mowing cycles.
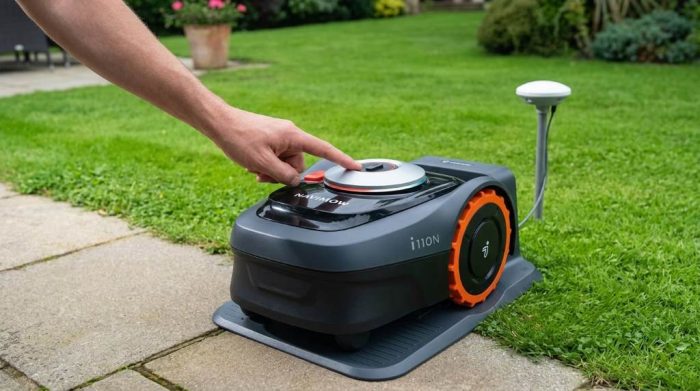
Unbox and Inspect the Package
Carefully remove every component from the box before installation begins. Verify that nothing appears damaged during shipping.
Your package usually includes the following items.
- Segway Navimow i110N robotic mower
- Charging station
- Power adapter
- Ground mounting screws
- User documentation
- Installation accessories
Install the Charging Station
Select a flat location with reliable power access and enough open space around the station. Good placement improves docking accuracy and charging reliability.
Secure the charging station firmly using the supplied ground screws. Afterwards, connect the power adapter and confirm the station receives electricity.
Connect the Mower to the Mobile App
Download the official Navimow application on your smartphone before pairing the mower. Follow the on screen instructions to create your account.
Turn on the mower and connect it through Bluetooth or WiFi when prompted. The application then completes device registration within a few minutes.
Create a Virtual Lawn Map
The Segway Navimow i110N uses virtual boundaries instead of traditional perimeter wires. Therefore, accurate mapping becomes the most important setup step.
Drive Around the Lawn
Use the application controls to guide the mower around the lawn perimeter. Maintain a smooth path while tracing every mowing area carefully.
Add Restricted Areas
Mark flower beds, ponds, playground equipment, and other obstacles as restricted zones. Consequently, the mower automatically avoids these protected locations.
Save the Map
Review the completed layout before saving your lawn map permanently. Correct any mistakes before the first scheduled mowing session.
Adjust Cutting Height
Select the proper cutting height according to your grass variety and seasonal growth. Taller settings usually reduce lawn stress during hot weather.
Avoid removing excessive grass during one mowing cycle because healthy lawns respond better to gradual trimming. Frequent mowing also creates finer grass clippings.
Create a Mowing Schedule
Open the scheduling section inside the application after completing lawn mapping. Choose the preferred mowing days and operating times.
Many homeowners schedule mowing during daylight for easier observation and maintenance. However, quieter operation also allows flexible scheduling when appropriate.
Start the First Mowing Session
Press the start command through the application or the mower controls. Watch the first complete mowing cycle to verify smooth operation.
Observe how the mower navigates corners, narrow passages, and charging returns. Small adjustments now improve future mowing performance.
Monitor Progress Through the App
The application displays mowing progress, battery level, completed areas, and current mower location. Real time updates simplify lawn management.
You can pause, resume, or stop mowing whenever necessary. Notifications also report charging status and operational alerts.
Routine Maintenance Tips
Regular maintenance extends mower life and improves cutting quality. Simple inspections often prevent unnecessary operating problems.
- Clean grass buildup beneath the cutting deck.
- Inspect cutting blades for wear.
- Tighten loose hardware when necessary.
- Remove dirt from the charging contacts.
- Keep software updated through the application.
- Store the mower indoors during extended inactivity.
Common Operating Problems and Solutions
Mower Does Not Start
Check battery charge, charging station power, and application connection before troubleshooting further. Most startup issues result from incomplete charging or incorrect setup.
Navigation Seems Inaccurate
Review the virtual map and update restricted zones if necessary. Accurate mapping usually resolves navigation inconsistencies.
Mower Misses Small Areas
Edit the lawn map and verify every mowing zone connects correctly. Afterwards, rerun the mowing cycle for better coverage.
Mower Cannot Dock Properly
Inspect the charging station placement and remove nearby obstacles blocking the approach path. Proper alignment greatly improves docking success.
Safety Tips for Everyday Operation
Keep children and pets away during the first few mowing sessions until everyone understands mower movement. Safe operation always remains the highest priority.
Never lift the mower while its blades rotate because serious injuries may occur. Instead, stop the machine completely before handling it.
Avoid mowing across flooded ground or standing water after heavy rainfall. Wet conditions may reduce traction and cutting quality.
Best Practices for Better Lawn Results
Mow frequently instead of waiting until grass becomes excessively tall. Regular cutting supports healthier grass growth throughout the season.
Remove large sticks before each scheduled mowing session to protect the blades. Likewise, trim lawn edges manually whenever necessary.
Check application updates regularly because software improvements often introduce better navigation and performance features. Updated firmware also improves long term reliability.
Conclusion
The Segway Navimow i110N Robotic Mower becomes easy to operate after proper installation, mapping, and scheduling. Consistent maintenance and accurate virtual boundaries help deliver reliable mowing with very little daily effort.
Follow these practical steps before every mowing season and review your lawn map whenever landscaping changes. Start using your mower correctly today to enjoy a healthier and cleaner lawn with less manual work.
Frequently Asked Questions
How do I start the Segway Navimow i110N Robotic Mower?
Complete setup, create a lawn map, and press the start command through the mobile application.
Does the mower need a perimeter wire?
No, it uses virtual boundary technology instead of a physical perimeter wire.
How often should I clean the mower?
Clean the mower after several mowing sessions or whenever grass buildup becomes noticeable.
Can I change the mowing schedule anytime?
Yes, the application allows schedule changes whenever needed.
What should I do if the mower misses part of the lawn?
Review and update the virtual lawn map before starting another mowing session.